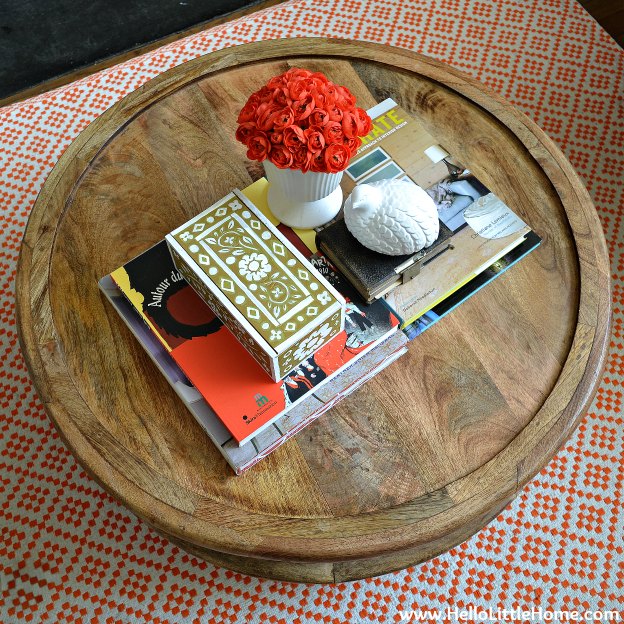
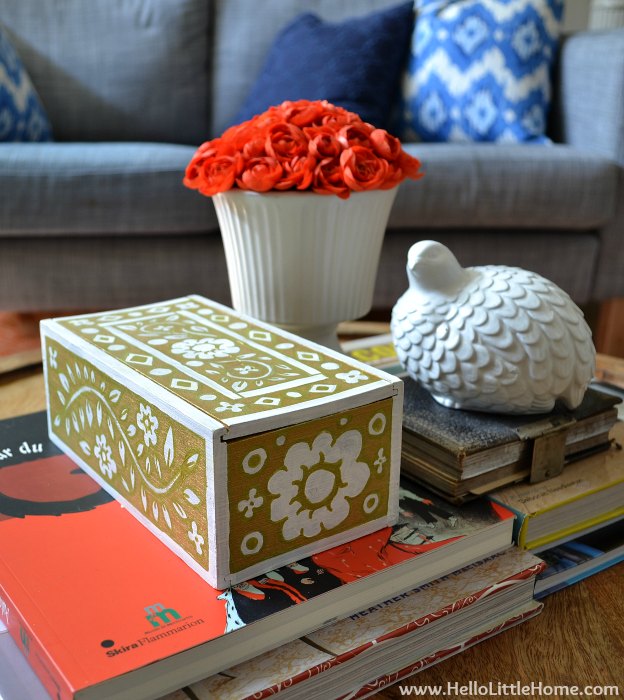
Learn how to create a unique DIY Faux Inlay Box! It's the perfect way to personalize your home with a beautiful handmade item!

This post contains affiliate links.
Have you ever had a DIY project go wrong? That's exactly what happened when I attempted to embellish this little box with a decorative painting technique!
But let's back up ... I love the look of furniture and decorative objects with mother of pearl inlay. They usually comes with big price tag though.
After seeing a lot of beautiful faux inlay projects on Pinterest, I thought I would try this technique myself.
I've had a little wood box for years that I always wanted to do something with it. It seemed like the perfect victim (emphasis on victim) for this project.
DIY Faux Inlay Box
I had grand visions for how this cute little box would turn out. But let's just say that things didn't go quite as well as expected!
All's well that ends well, but this DIY faux inlay box took me a while to get right ... ha!
I'm sharing all my tips so you can learn from my mistakes and make your own DIY faux inlay box.
How to Create Faux Mother of Pearl Inlay
Want to try this decorative painting technique for yourself? Here's what you'll need to make your own DIY Faux Inlay Box:
- wooden box, or other object to paint (This box is very similar to the one I used, but there some good boxes in different sizes here, too!)
- gold craft paint, or color of your choice
- white paint, or other light-colored paint
- foam craft brush
- small angle-tip paintbrush with firm bristles
- gold marker for touch ups
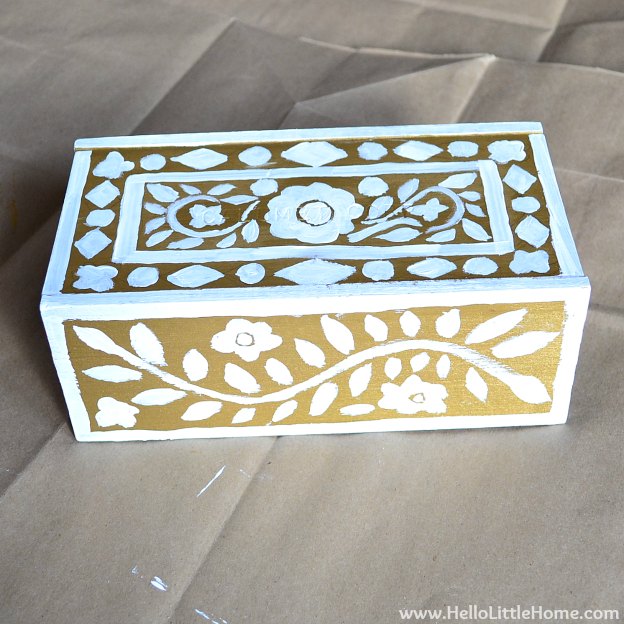
Using the foam brush and gold craft paint, cover your box with a thin coat of paint. Let dry and then add additional coats, if necessary.
I used FolkArt Metallic Acrylic Paint in Pure Gold. I've used this paint for tons of projects, and I love the rich color.

After the last coat of paint dries, it's time to add your inlay designs.
Using the angle-tip brush and the white paint, carefully add your patterns. Take your time, and don't load the paint brush with too much paint. You can always do a touch up later, but it's hard to remove excess paint.
I recommend searching the web for potential designs; you'll find lots of beautiful furniture to inspire you. Typical inlay patterns include swirling vines, stylized flowers, and sometimes more geometric shapes, all contained within a border.
Tip: start with the border, and then fill in with your chosen design.

This is where things started to go wrong with my box!
I'm a very impatient crafter, so I grabbed the first paintbrush that I could find.
My brush had a soft rounded tip, and as you can see above, it was the wrong choice. I didn't have a lot of control, so my painting ended up being very messy.
But did I stop to find the correct brush? No ... I just kept on going.

And going ...
And painted the whole box.
At this point, I was trying to decide if my design looked whimsical or just totally craptastic.
My mind was saying "ugh," but the impatient crafter in me was saying "it looks great!" Ultimately, I decided it looked horrible and set it aside.
After a few months of collecting dust, I picked up my box again and attempted to touch it with a gold marker. It worked!

You can see the marker lines in the picture above. Basically, I traced the marker around the messy edges of my original design, slimmed down thick lines, added details, and cleaned everything up.
This DIY faux inlay box didn't turn out exactly how I though it would, but I'm happy I was able to fix it.
I'd like to try faux inlay again on a larger piece of furniture, and I even have something in mind. Given my impatience, I'll probably use an inlay stencil next time though!
Here are a few tips for avoiding your own DIY disaster:
- Gather all your supplies in one place before you start.
- Make sure you have the right tools (see my paintbrush fiasco above).
- Take your time, especially if you've never tried that particular craft before.
- Pause occasionally to assess your work. If something doesn't look right, stop and figure out how to fix it before proceeding.
- If you're not happy with the end result, set your project aside for a while instead of tossing it out. Maybe you'll grow to love it, and if not, you can try to fix it.

Have you ever had a DIY disaster? Tell me all the gory details!
This is beautiful! You did an awesome job. I would love to do a project like this.
Thanks, Bismah! It was fun - you should try it!
I've been in that position before, but it turned out great. Good idea to touch it up.
Thanks, Sarah! I always think that it helps to set something aside for a while:)
What a gorgeous little box! I agree that it doesn't look DIY and I love that you weren't happy with it, but managed to salvage it with some clever re-thinking. Well done!
Thanks, Suzy:) It took a little patience, but I'm really happy with how it turned out.
This is so pretty... it gives me such ideas! Tissue box, my cables and cords... ooh I love it! Thanks for the inspiration!
You're welcome, Aysh! I'd love to see if you try it!
How pretty, I love how the gold looks, too! Thanks for sharing it with us! Pinned. 🙂
Thanks so much, Marti! The gold is my favorite part.
I think the box looks great with the addition of the marker to the design. Great job, this looks really pretty!
Over The Apple Tree
Thank you so much, Laura!
Very pretty design! There are lots of blank wood items at the local craft store and I'm suddenly seeing a lot of possibilities!
Thanks, Natasha! I'd love to know how it turns out if you try it:)
This turned out so pretty! Well done, babe!
-Ashley
http://lestylorouge.com
Thank you so much, Ashley:)
That box is super pretty! It definitely doesn't look DIY at all.
Thanks, Alissa! That's a great compliment:)
WOW it turned out great, that is really cool that you figured out a way to not just salvage it but that it looks amazing! I LOVE it soooo much!
Thanks, Heather!! I'm really happy with how it turned out in the end:)
Love this box ! I have an old box that I would love to re-do like this! Dont be surprise if I do! I let you know.. thanks for inspiring me Maria
Hi, Maria! I hope you try it, and I'd love to see how it turns out:)