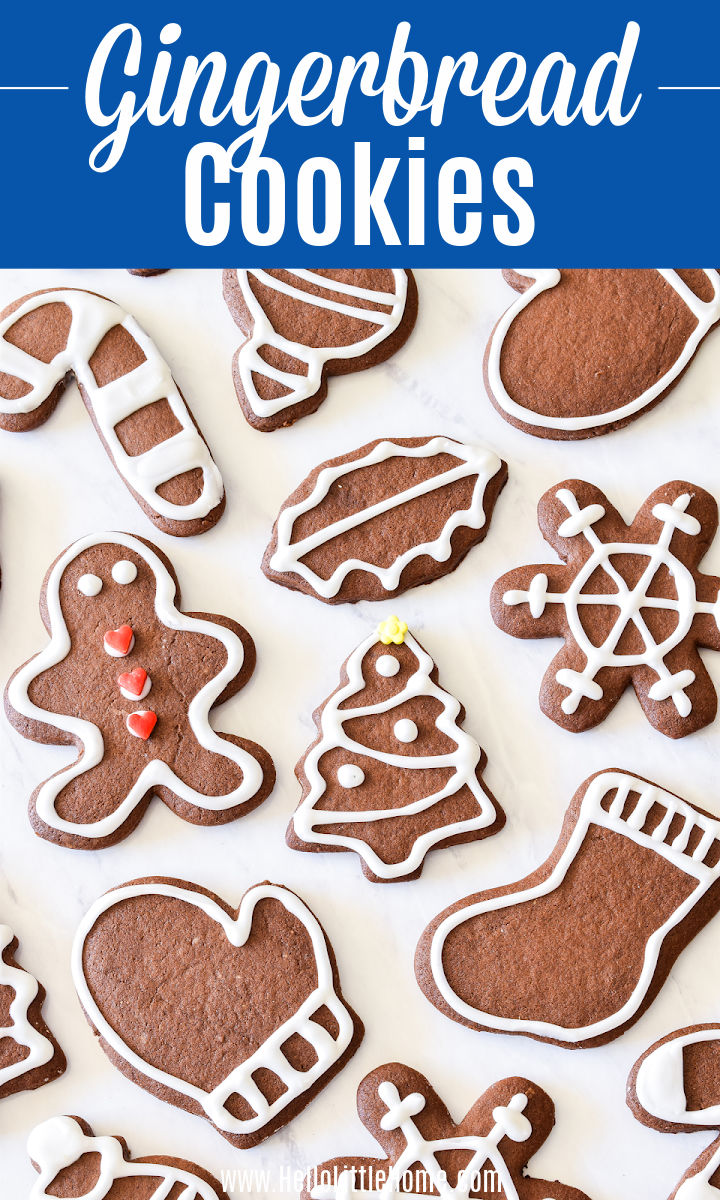
These old fashioned Gingerbread Cookies are a holiday classic! Perfectly spicy, crisp, and so easy to make .... they're sure to become your new Christmas favorite!

This post contains affiliate links. As an Amazon Associate I earn from qualifying purchases.
There are sooo many creative and inspiring Christmas cookie recipes available these days. And maybe that's why it feels extra special returning to the classics, like these traditional Gingerbread Cookies!
I found this recipe in my mom's cookbook ... there are so many treasures in those well-worn pages. The recipe for these Gingerbread Cut Outs comes from a family friend (as many good recipes do). And because I can never resist a little tinkering, I made a few small tweaks to the original recipe.
The result is a truly classic Gingerbread Cookie that has an old fashioned flavor you're sure to love! These cookies are perfectly spicy, not too sweet, and have an ideal crispy, crunchy (but not hard) texture ... you might even picture yourself eating them in a cozy German grandmother's kitchen. Delicious!
These scrumptious cookies aren't just tasty though, they're also so fun to decorate! And I'm sharing an easy icing recipe that makes this a snap. No special skills required!
Ready to get baking? Keep reading for all the details!

Ingredients
This recipe uses a combination of basic baking ingredients, warming spices, and good old fashioned molasses for that classic Gingerbread flavor. Here's what you'll need:
- Unsulphured Molasses - I recommend using dark molasses for these cookies. It will give them the richest flavor.
- Brown Sugar
- Unsalted Butter
- Large Egg
- Vanilla Extract
- All-Purpose Flour
- Baking Soda
- Spices: Ginger, Cinnamon, Cloves, and Nutmeg
- Kosher Salt
- Icing: Powdered Sugar, Milk, and Vanilla Extract
These simple ingredients result in a cookie that's loaded with spicy flavor, perfectly crisp (not hard), and that holds its shape when baked. I haven't tested it out yet (next year!), but because it doesn't spread, I think this cookie dough would be perfect for making a tree garland or a gingerbread house. Let me know if you try it!
You'll Also Need
For these cookies, you’ll need a stand mixer to prepare the dough, a rolling pin, a couple baking sheets, and a baking rack to cool the finished cookies. I used this Christmas cookie cutter set … it's affordable and has every cookie cutter you could ever need (plus lots more you didn’t even think of)!
You’ll also need something to apply the icing. I love these decorating bulbs ... so much easier than handling a bulky pastry bag!

How to Make Gingerbread Cookies
This Gingerbread dough is simple to make ... let's get started!
You'll begin by whisking together the dry ingredients: all-purpose flour, baking soda, salt, ginger, cinnamon, cloves, and nutmeg. Combining the dry components ahead of time lightens up the flour, plus it ensures that the spices and leavening get evenly distributed in the finished dough. Set aside once mixed.
Next, you'll mix together melted butter, brown sugar, and molasses. The brown sugar and molasses (along with the spices) are what gives these cookies their signature flavor! It should look dark and shiny once mixed.
Mix in an egg and a little vanilla extract, then it's time to add the flour mixture. You're going to add it in two batches, mixing just until combined.

Before you bake the cookies, the dough needs to chill for at least two hours (or overnight). This allows the dough to firm up (which stops the cookies from spreading when baked), and it enhances the flavor of the cookies, too.
Divide the dough in two, then shape each half into a ball (using your hands). Press each ball into a disk about 1-inch thick, smoothing any cracks around the edges. Then, wrap in plastic wrap and chill.

Once the dough has chilled, roll it out on a floured board about ¼-inch thick. Then, cut out the cookies using your favorite cutters. Tip: Dipping the cutters in flour before cutting, keeps the dough from sticking to them.
Place the cookies on a baking sheet (sprayed with non-stick spray or lined with parchment paper). These cookies don't spread much when baked, so you can place them fairly close together.
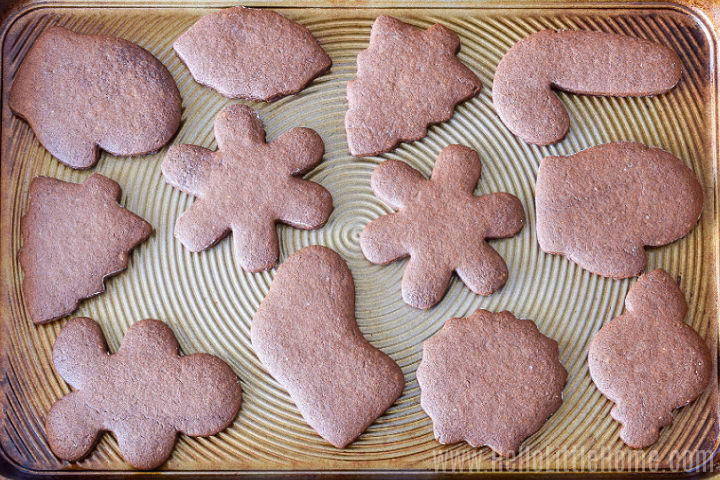
Bake the cookies until they've darkened slightly on the bottom .... it only takes about eight to ten minutes. Let the cookies cool for about five minutes on the baking sheet, then transfer them to a baking rack to cool completely before decorating.
Tip: For chewier cookies, roll out the dough a little thicker (somewhere between ¼- and ½-inch), and watch the baking time closely. You will want to slightly under-bake the cookies.
Decorating the Cookies
Ready for the fun part? Time to decorate!
Even if your cookie decorating skills are pretty basic (like mine), this is the most entertaining part of making these cookies. Plus, the cookies aren't very sweet, so the icing adds the perfect finishing touch.
You can cover the cookies with frosting if you wish, but I love the beautiful simplicity of icing them. They just look so traditional, almost as if you stepped into a storybook!
Tip: If you'd like to frost these cookies, try the Cinnamon Cream Cheese Frosting I used for these Pumpkin Spice Cookies.

The Cookie Icing recipe is super simple: powdered sugar, milk, and vanilla extract. Feel free to use non-dairy milk if you prefer ... I used coconut, which made it extra delish!
You are aiming for a very thick consistency (just slightly pourable ... see pic above). The icing should hold its shape when creating lines.
I recommend testing out a few lines on your cutting board. You can always add a little extra powdered sugar, if needed. Or more milk (a drop at a time), if it gets too thick.

Once your icing is ready, transfer it to a decorating bulb (my fave), pastry bag, or ziplock with the corner snipped off. Start by drawing lines around your cookies, then fill in any details last.
The beauty of these simple lines is that they make even novice decorators look like pros! Just keep your hand moving (as quickly as possible) for the smoothest lines.
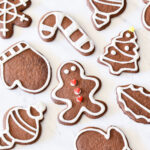
If you'd like to add candy or sprinkles to your cookies, make sure to add them right away, before the icing has a chance to set. You can also add little dots with the icing, like I did on the tree below. If the dots look a little pointed, lightly wet your finger, then gently press them into shape.
Practice makes perfect ... or at least good enough. Ha! But didn't these Gingerbread Cut Out Cookies turn out so cute? I'm definitely adding these to my annual cookie rotation, and I think you'll do the same once you try them!

Storing the Cookies
To store these cookies, first let the icing harden. This can take a few hours, but you can speed it up by refrigerating the cookies (in a single layer). Then, store the cookies in an airtight container, separating any layers of cookies with wax paper or parchment paper. Since they're a crunchier cookie, they should stay fresh for a couple weeks.
These classic Gingerbread Cookies can also be frozen. Freeze them in a single layer first, then transfer them to an airtight container with wax or parchment paper between any layers.

Related Recipes
Looking for more Christmas Cookies ideas? Try one of these recipes next!
- Sour Cream Cut Out Cookies
- Chocolate Peppermint Crinkle Cookies
- Maple Pecan Shortbread Cookies
- Peppermint Thumbprint Cookies
- Honey Cookies
- Black Bottom Cupcakes (Mini Chocolate Chip Cheesecakes!)
- Poppyseed Kiss Cookies
- Chewy Ginger Cookies
- White Chocolate Cranberry Cookies
- Curry Shortbread Cookies
- Pecan Finger Cookies … my all-time favorites!

Gingerbread Cookies
Ingredients
For Cookies:
- 2 ¾ cups all-purpose flour
- 1 teaspoon baking soda
- 1 teaspoon kosher salt
- 2 teaspoons ground ginger
- 2 teaspoons ground cinnamon
- ½ teaspoon ground cloves
- ½ teaspoon ground nutmeg
- ⅓ cup unsalted butter, melted
- ⅓ cup dark brown sugar (packed)
- ⅔ cup unsulphured molasses
- 1 teaspoon vanilla extract
- 1 large egg
- nonstick cooking spray
For Icing:
- 2 cups powdered sugar
- 2 to 3 tablespoons milk
- ¼ teaspoon vanilla extract
- sprinkles (optional)
Instructions
Prepare Cookies:
- Whisk together flour, baking soda, salt, ginger, cinnamon cloves, and nutmeg in a medium bowl. Set aside.
- Using stand mixer, mix together butter, brown sugar, and molasses until dark and glossy. Add vanilla and egg.
- Mix in flour in two batches, blending just until mixed.
- Divide dough in two, then shape each half into a ball (using hands). Flatten each ball into a disk about 1-inch thick, then cover with plastic wrap.
- Chill dough for at least 2 hours (or overnight).
- Preheat oven to 375 degrees. Lightly spray two baking sheets with nonstick spray.
- Roll out dough (one disk at a time) on a lightly floured board. Cut into shapes using cookie cutters.
- Transfer cookies to baking sheet, spacing about 1-inch apart. Bake until slightly darkened on bottom, about 8 to 10 minutes.
- Cool cookies on baking sheet for 5 minutes, then transfer to a baking rack to cool completely.
Prepare Icing:
- Mix together powdered sugar, milk, and vanilla extract until smooth, adding just enough milk to create a thick consistency (should hold a line).
- Transfer icing to a decorating bulb (or pastry bag or ziplock with corner snipped off), then use to decorate cookies as desired. Add sprinkles while icing is still wet, if using.
- Let icing harden, then transfer cookies to an airtight container to store. Enjoy!
Notes
Took your suggestion and used this for my first stamped cookies! Thankfully each tray got better looking! Taste is outstanding. If you don't mind....about your icing,it's basically what I have always used. It may not be the thing anymore but if you add 1 teas.of white corn syrup per 2 Cups of powdered sugar your icing will "set". It won't get hard but will let you stack without sticking after about an hour.Add with the milk. Merry Christmas to you and yours!
Hi Bonnie! I'm so glad you enjoyed the recipe ... aren't they fun to make? Thanks for sharing that helpful tip. I will give it a try. Merry Christmas!