Learn how to wrap a present professionally, step by step ... it's easy. You'll never struggle to wrap a pretty package again!
This post contains affiliate links.
I’ve always loved wrapping gifts. It’s so fun to add a special touch that makes the outside of the present almost as good as what’s inside.
My mom was always very creative with her gift wrapping, creating intricate bows and fun designs. I loved those packages growing up, and my goal is always to make my gifts look half as nice as hers did!
As much as I enjoy the process, I haven’t always been that great at it. I've done lots of practicing though, and after many poorly wrapped gifts, I’ve learned how to wrap a present professionally.
Today, I’m sharing my tips and tricks for how to wrap a present professionally in a step by step gift wrapping tutorial. I'll show you have to wrap any size box perfectly, and you won't believe how easy it is!

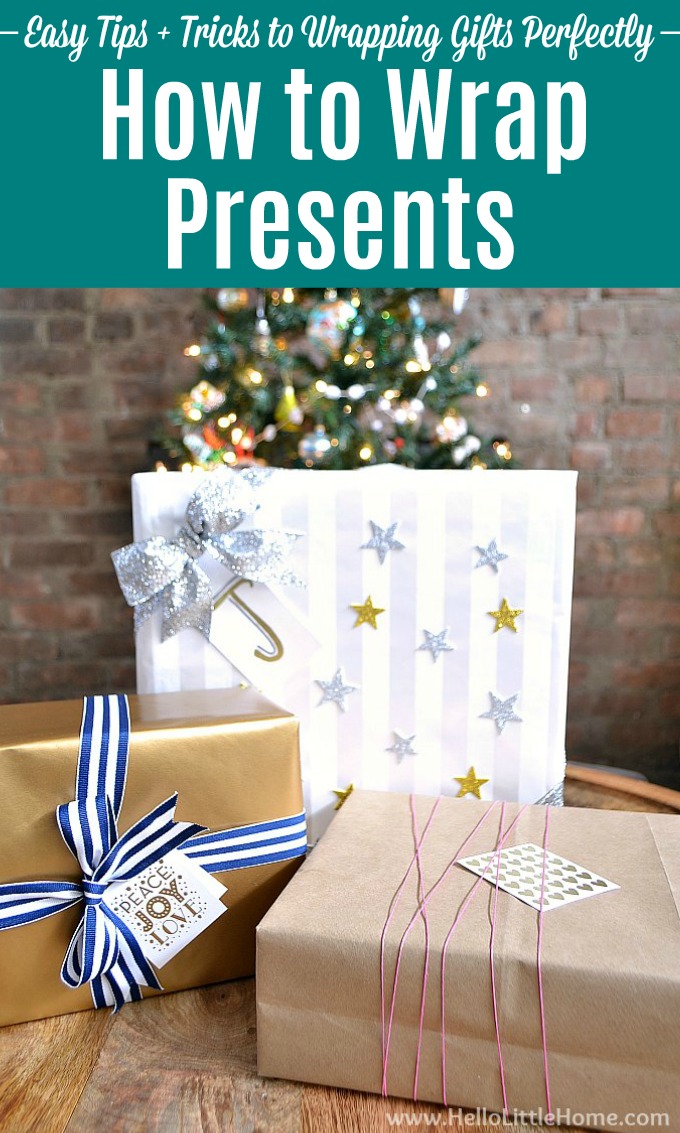
How to Wrap a Present Professionally ... Step by Step
Want to improve the appearance of your gifts this year? Follow this step by step tutorial and learn how to wrap a gift like a pro!
Here's what you'll need:
It really is easy to get a beautiful package with these present wrapping tips. The main keys are to use double-sided tape anywhere regular tape would show and to make your creases and folds as sharp as possible.
Watch This Gift Wrapping Video
Start by watching my gift wrapping video below to see just how simple it is, then follow my step-by-step gift wrapping tutorial for more tips!
Start by cutting a piece of wrapping paper. It should be long enough to wrap around your box with a couple inches of overlap. Don't skimp!
On the box's sides, the wrapping paper should be wide enough to at least meet (with a little overlap) when you fold in the ends of the paper. Ideally though, your wrapping paper will almost touch the other side of the box when folded in.
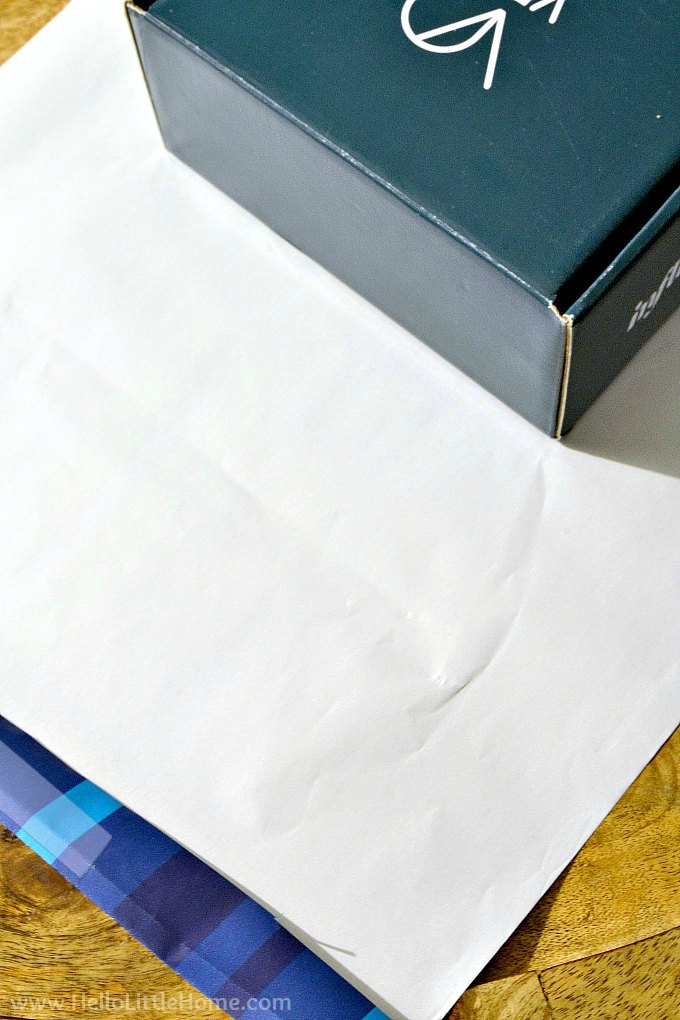
To get started, place your box upside down on the wrong side of your wrapping paper. Tape the wrapping paper in place on the edge of the box with regular tape (as shown below). Don't worry if this edge is a little rough, because it won't show later.
Tip: If you are using a box that you don't want to damage, hold the paper in place, then attach the other end of the paper to it. The paper should be attached only to itself, not the box.

Fold the remaining wrapping paper around the box, pulling it tight.
You want the paper to reach the edge of the box, covering the paper you just taped in place. Taping the paper here will eliminate a visible seam.
Make a light crease where the paper meets the end of the box, but don't tape anything just yet.
Tip: If you're using a striped paper or any kind of wrapping paper with a repeating pattern, make sure the pattern matches up now. If it doesn't, readjust your paper before taping anything else down.

Unfold the paper, then fold along the line where you made the light crease. This will hide the raw edge of your paper, giving you a nice straight line instead (see below).
Before taping, check one more time that when your paper is wrapped around the box, the folded edge you just created meets the edge of box.
Apply a piece of double sided tape along the edge of your wrapping paper, just inside the folded edge.
Wrap the paper around your box, and pulling snugly, press the tape to seal.
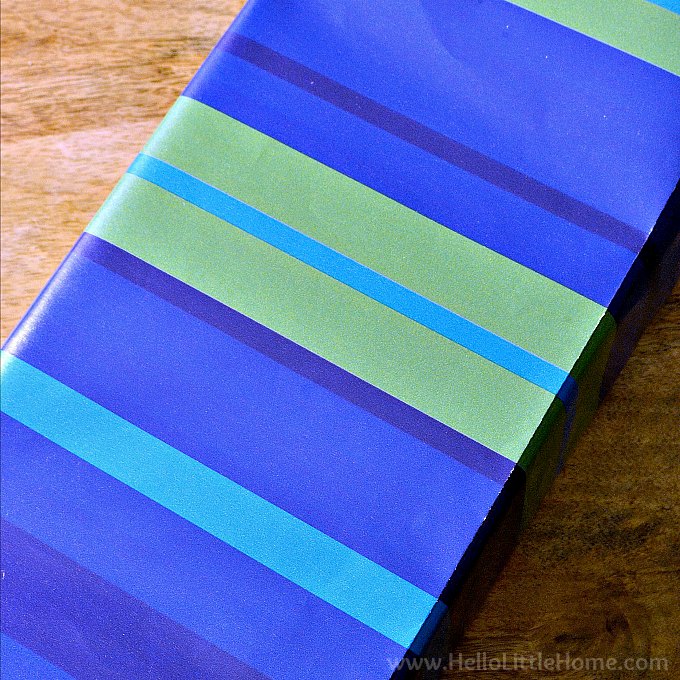
You should have an almost invisible seam on the edge of your box (see below).
Tip: If you are wrapping an oversized gift, and your paper isn't wide enough to cover the whole box, you will need to seam multiple sheets of paper together. To seam the paper, fold over the raw edge of your wrapping so you have a straight line (similar to the above photo). Add double sided tape all along this edge, then attach it to another sheet of paper.
If at all possible, try to line up this new seam with a box edge. That way, it will be less noticeable. Avoid using papers with stripes or repeating patterns for oversized gifts, because mismatched patterns will be very noticeable.
Next, you'll work on the ends of the box.
Still working on the bottom of the box, press the center of the paper flap down and then out to meet the sides of the box. (Tape it down to hold it in place, if desired.)
Then, crease the edges of the paper to make two neat triangles on either side of the box (below).

Place a strip of double sided tape on the inside of each triangle and fold in to seal.
Remember to keep your folds and creases as sharp as possible.
If your paper was long enough, you'll have a triangle at the base of the package. If your paper was shorter, you'll have a flat end instead of a triangle.

There are two ways to finish the wrapping:
- Apply double sided tape to the triangle, then fold it up to seal. (top image below)
- If your flap has a flat edge (or you just wants a neatly tailored end), try this alternative method. Fold up the flap and mark (on both sides) where where it meets the seams that angle in. Then, fold over the flap at those marks, apply double sided tape, and press it up to seal. The top of your flap should meet the side seams. (bottom image below)
Repeat this process on other side, then turn your package over. You're done!
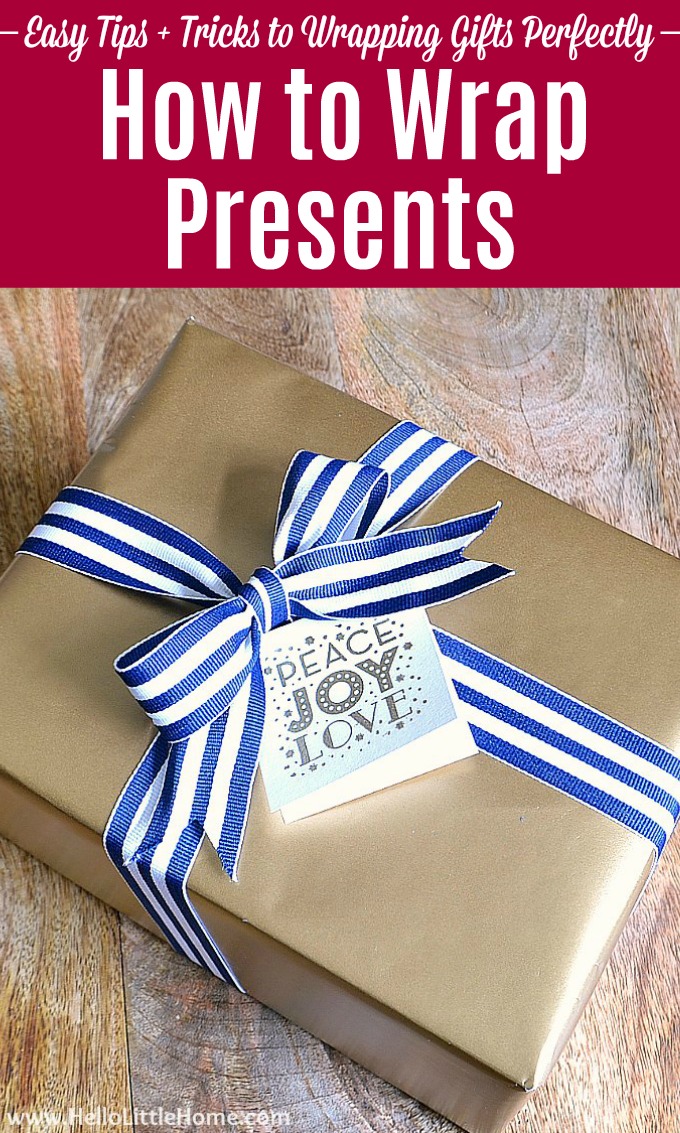
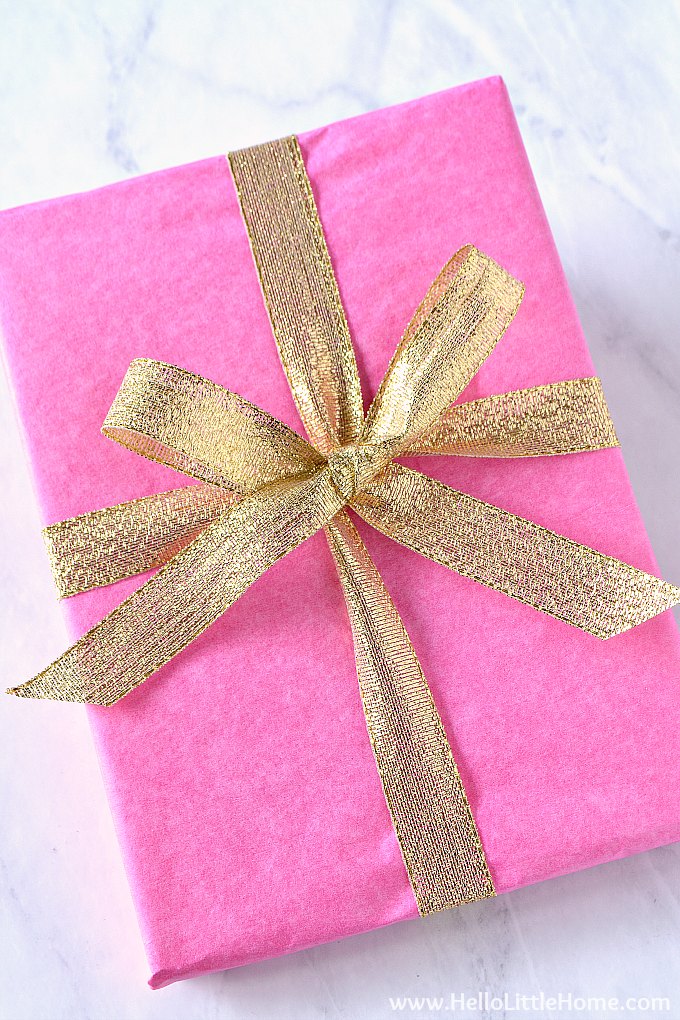
Add a bow and other decorations, if desired. Ribbons are the perfect way to cover up any wonky spots, by the way! 😉

More Tips for How to Wrap a Present Professionally
If hope you enjoyed learning how to wrap a present professionally! This is the best way to wrap a present, and it really is easy. Once you get the hang of the process, you should be able to wrap a standard size present in minutes.
Do you have a gift with a weird shape? Here are some simple tips for wrapping presents that don't fit a standard box:
- Wine Bottle: Wrap tissue paper around the bottle, taping the seam with a small piece of invisible tape. Fold paper in to cover the bottom as neatly as possible and tape into place with more tape or a decorative sticker. Gather the tissue paper together around the bottle's neck and tie into place with a ribbon.
- Clothes without a Box: Fold up the piece of clothing as neatly and tightly as possible. Follow my present wrapping tips for wrapping a box, but avoid making sharp creases. You will probably need to do some extra folding to get neat ends.
- Odd Shaped Gifts: For gifts with strange shapes (like toys in a half-open box), you need to get creative. Start by wrapping the most standard part of the present first, then fold the paper as needed to cover the package angles. Cover up any messy spots with lots of ribbon!
- Gift Bags: I'm not anti-gift bag at all! Sometimes it's just the easiest way to wrap something up. Paper Source has an awesome selection of gift bags, from mini to extra large. Use lots of tissue paper to line the bag (letting it pop out of the bag), insert your gift, then cover the top with more tissue paper.
- Specialty Papers: If you're using a glitter paper or a piece of heavy decorative paper, make sure to use a super sticky tape to wrap your gifts. Regular tape (double sided or not) will not stick.
If all else fails, get your gifts wrapped at a store. I like Paper Source, because they have the best wrapping papers and ribbons to choose from.
This tutorial is also available as a web story, if you'd like a quick overview of the steps.
Need help with tying bows, too?
Check out my tutorial for how to tie the perfect bow ... it's easy, and there's even a video!
Do you love wrapping gifts, too?
Save
Wow! This is so amazing and the gift boxes in the images are so good. Thanks for sharing this wonderful post.
I'm so glad you found it helpful, Mary!
Love this - I always try to be precise, but you have me beat! The one thing I haven't done is fold the pointed area under. I will do that from now on! Thanks for a great post!
Ha ha ... thanks, Natalie! I love folding the pointed end under. It makes sure a neat package! 🙂