Ninja sent me a Ninja Foodi to test out. All opinions are my own.
Warm up tonight with this delicious Ninja Foodi Veggie Pot Pie ... it's easy to make and your whole family is sure to love it!

This post contains affiliate links.
I absolutely love Pot Pies. They're just so tasty and comforting. Basically, the perfect meal for a cold day, you know?
But if I'm being honest, they're also a lot of work. There's the crust, the filling, the baking, all the pots and pans to clean, etc.
Not this yummy Veggie Pot Pie though!
It's made all in one pot using the Ninja Foodi, a pressure cooker that crisps. Once you learn this simple recipe, you can easily make Pot Pie anytime a craving strikes.

Veggie Pot Pie in the Ninja Foodi
I love my pressure cooker. It makes getting dinner on the table so easy and fun.
So when Ninja offered to send me their new Foodi, I had to try it out!
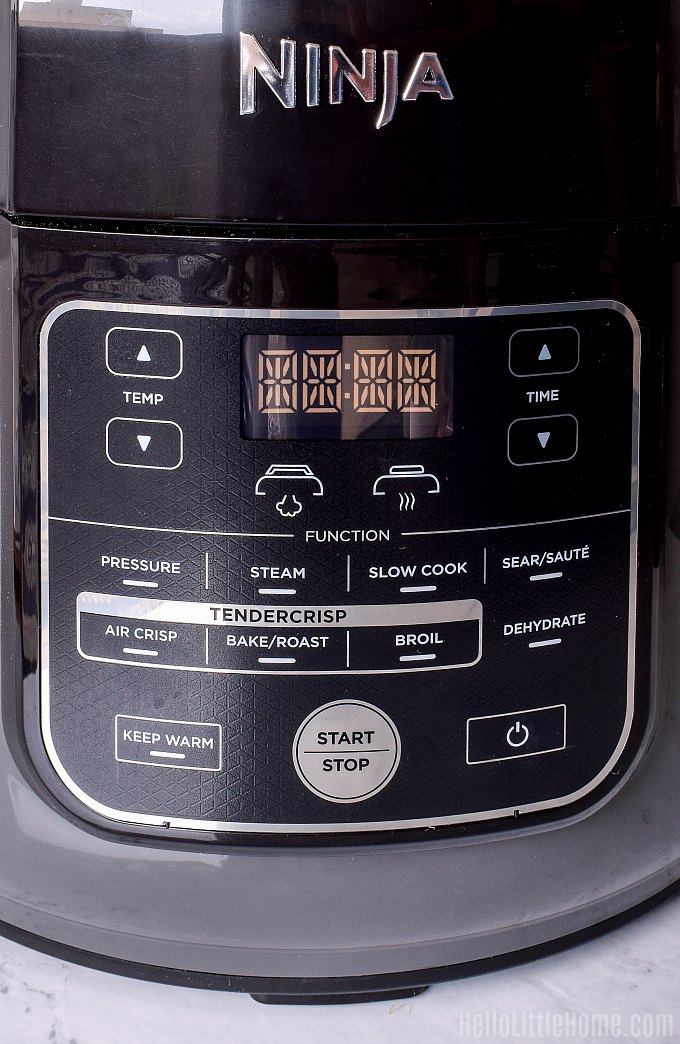
The Ninja Foodi is so much more than just a pressure cooker. Unlike most pressure cookers, the Foodi has two lids: a pressure lid and a crisping lid. Which means you can use it to:
- Pressure Cook
- Steam
- Slow Cook
- Sear/Saute
- Air Crisp
- Bake/Roast
- Broil
- Dehydrate

Even with all of these functions, the Foodi is super simple to use right out of the box. And you can use it to do everything your pressure cooker can, but so much more!
To make this Veggie Pot Pie, for example, you pressure cook the veggies until tender. Then you broil the crust until crisp. And it's all done in one pot.
And the best part (aside from the delicious taste) is that there's only one pot to clean when you're done.
I've tried a bunch of recipes with the Foodi so far, and I can't wait to make more. All of these Ninja Foodi recipes are in the recipe book that comes with the appliance, by the way.
I was curious to try out the air fryer function first. I've wanted an air fryer for a while, but I wasn't sure how much I'd use it.
These Crispy Brussels Sprouts with Sriracha Mayo were pretty much the best sprouts I've ever eaten, and they couldn't have been easier to make.
They'd be the perfect side for almost any meal (without or without the dipping sauce), and you could easily use this technique with other veggies, too.

One of the cool things about the Foodi is its signature TenderCrisp cooking method. You start out with pressure cooking, then finish your meal using the crisping method of your choice.
That's exactly how I made this Grains, Greens, and Tofu Bowl. I started by pressure cooking kale, farro, and wild rice. Then, I placed a rack over the veggies and air fried marinated tofu until crisp.
Yum! This meal was so delish ... I can't wait to make it again!

I've also made a Chocolate Chip Skillet Cooking using the Bake/Roast function (I ate that one before I took any pics ... ha ha), and these tasty Zucchini Fries, which were also air fried.

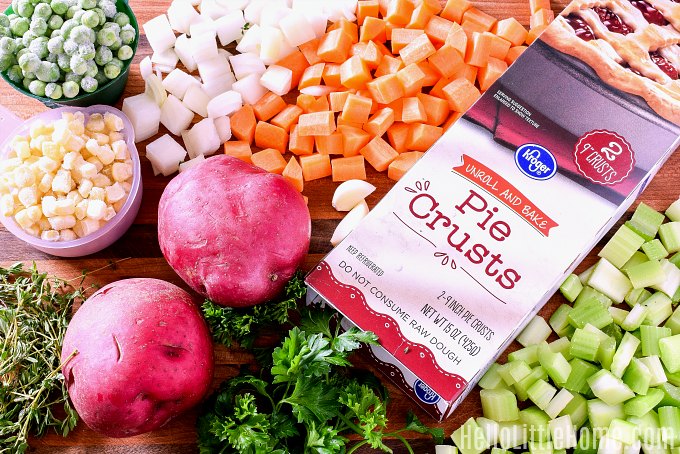
Vegetable Pot Pie Ingredients
Okay, let's talk about this Pot Pie. The Foodi comes with a recipe for Chicken Pot Pie, which I adapted to be vegetarian.
Here's what you'll need to make this vegetarian Pot Pie:
- Unsalted Butter
- Veggies: Onions, Carrots, Celery, Potatoes, Peas, and Corn
- Garlic
- Vegetable Broth (I make mine from bouillon.)
- Flour
- Heavy Cream
- Fresh Thyme
- Fresh Parsley
- Salt (I prefer Kosher salt.)
- Pepper (Make sure to use fresh-cracked pepper.)
- Pie Crust
A few notes about the ingredients: 1) Feel free to switch up the veggies. I like using this combination because I pretty much always have these vegetables on hand. 2) You can use dried thyme if you don't have fresh (use 1 teaspoon instead of 2), but I'd just skip the parsley if you don't have fresh. 3) Of course, you can make your own pie crust, but using a premade crust saves so much time!
How to Make Veggie Pot Pie in the Ninja Foodi
This vegetarian Pot Pie is so simple to make in the Foodi!
Pressure Cooking the Veggies
You'll start sauteing onions, carrots, and celery in butter until they start to get tender. Stir in some garlic and cook it just until fragrant.
Next, you'll add the potatoes and vegetable broth, then pressure cook the veggies for five minutes.

Making the Sauce
After the veggies have been pressure cooked, you'll add the rest of the ingredients: peas, corn, and fresh thyme and parsley.
Sprinkle the veggie mixture with flour (to thicken your sauce), then mix everything well.
Stir in the heavy cream, then set the Foodi to Sear/Saute. Cook the sauce just until it thickens. It should only take about 2 to 3 minutes.

Baking the Pot Pie
After your sauce has thickened, season it to taste with salt and pepper. Then, place the pie crust over the veggies.
Be careful as you add the crust, because the pot is really hot. And don't worry about getting it perfect. Just fold over any excess crust to make it fit, then cut a small vent in the center.
Next, you'll use the Broil function to cook the crust until its crisped and browned. It should take about 10 minutes.
One of the cool things about the Foodi is the you can open the crisping lid while it's cooking. This allows you to cook your food exactly how you prefer it.
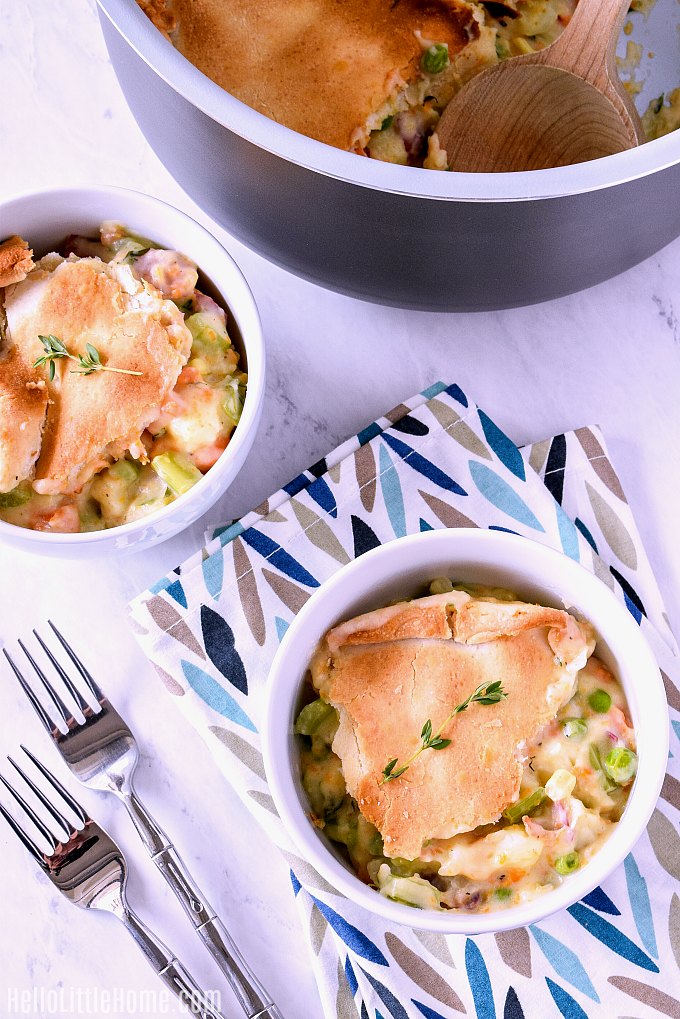
And that's it ... your Veggie Pot Pie is ready to eat!
Don't you just want to take a bite out of that picture? It really is so delicious, and I've already lost count of how many times I've made this Ninja Foodi recipe.
So what are you waiting for? Make this recipe tonight! It's total comfort food, and your whole family will love it.


Ninja Foodi Veggie Pot Pie
Ingredients
- 4 tablespoons unsalted butter
- ½ large onion, diced
- 1 ½ cups diced carrots (about 2 large carrots)
- 1 ½ cups diced celery (about 3 stalks celery)
- 2 cloves garlic, minced
- 3 cups diced red potatoes (about 3 medium potatoes)
- 1 cup vegetable broth
- ½ cup frozen peas
- ½ cup frozen corn
- 1 tablespoon chopped fresh Italian parsley
- 2 teaspoons fresh thyme leaves
- ¼ cup flour
- ½ cup heavy cream
- salt
- pepper
- 1 prepared pie crust
Instructions
- Press SEAR/SAUTE button and set to MD:HI. Press START, then let pot preheat for 5 minutes.
- Melt butter in pot. Add onions, carrots, and celery to melted butter; saute until softened (about 3 minutes).
- Stir garlic into veggies and cook until fragrant, stirring constantly (about 30 seconds). Press STOP.
- Add potatoes and broth to pot. Stir, then place pressure cooking lid on pot. Set valve to SEAL position.
- Select PRESSURE and set to HIGH for 5 minutes. Press START.
- When done, do a quick release. Remove the lid.
- Add peas, corn, thyme, and parsley to pot. Sprinkle with flour and mix well. Stir in heavy cream.
- Select SEAR/SAUTE and set to MD:HI. Press START. Cook, stirring constantly, until sauce thickens and is hot (about 2 to 3 minutes).
- Press STOP button. Season mixture with salt and pepper to taste.
- Place pie crust over vegetable mixture. Fold over edges of crust to fit pot. Make a small vent in the center of the crust.
- Close the crisping lid, then select BROIL. Set time to 10 minutes and press START.
- After time is up, transfer inner pot to a heat proof surface. Let pie sit for 10 minutes, then serve. Enjoy!
Notes
Nutrition
Love this Vegetable Pot Pie?
If you enjoyed this yummy pot pie, you'll want to make some of my other pressure cooker recipes in the Ninja Foodi, too!

Have you tried out the Ninja Foodi?
It was delicious, thank you! For anyone in the UK, "broil" = "grill"!
I'm so glad you enjoyed it, Julie! Thanks for sharing that tip!
I made this with some substitutions. I used half n half instead of heavy cream; mushrooms instead of corn; and sweet potatoes instead of regular potatoes. I also found a vegan protein broth that was thick and savory. The pot pie turned out DELICIOUS! Literally the best pot pie we have ever had. This will be a go to meal for year's to come.
Hi, Brittany! I'm so glad to hear you're loving the pot pie ... you made my day! Thanks for sharing your substitutions ... sounds delish. 🙂
What could I use rather than heavy cream for this to thicken and be vegan?
Hi, Nicole! Feel free to use plain unsweetened almond milk (or soy, etc.). I've used that before, and it turned out great. Hope you enjoy the recipe!
This was the first dish that we made in our new Ninja Foodi. I panicked when I realized that our Foodi, the new compact model, doesn't have a broil function. I just turned on the air crisper for about 9 minutes and the pie crust was crisp and nicely done. The dish was a hit!
Hi Mark and Barbara! I'm so glad you enjoyed the recipe. Thanks for sharing the tip about using the air crisper ... great thinking and I'm glad it turned out!