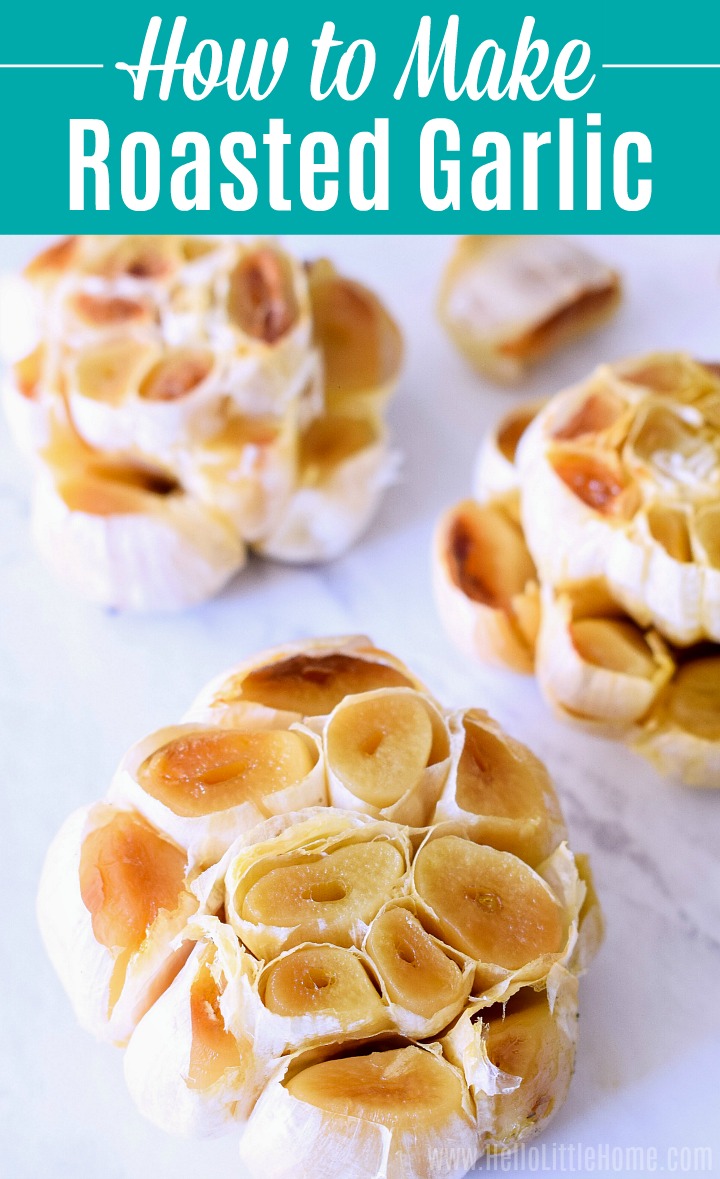
This easy Roasted Garlic recipe works with whole heads and individual cloves, and it truly transforms raw garlic into something magical!

This post contains affiliate links. As an Amazon Associate I earn from qualifying purchases.
I am on a Roasted Garlic kick lately! It's truly amazing how baking garlic can transform a humble clove into something special.
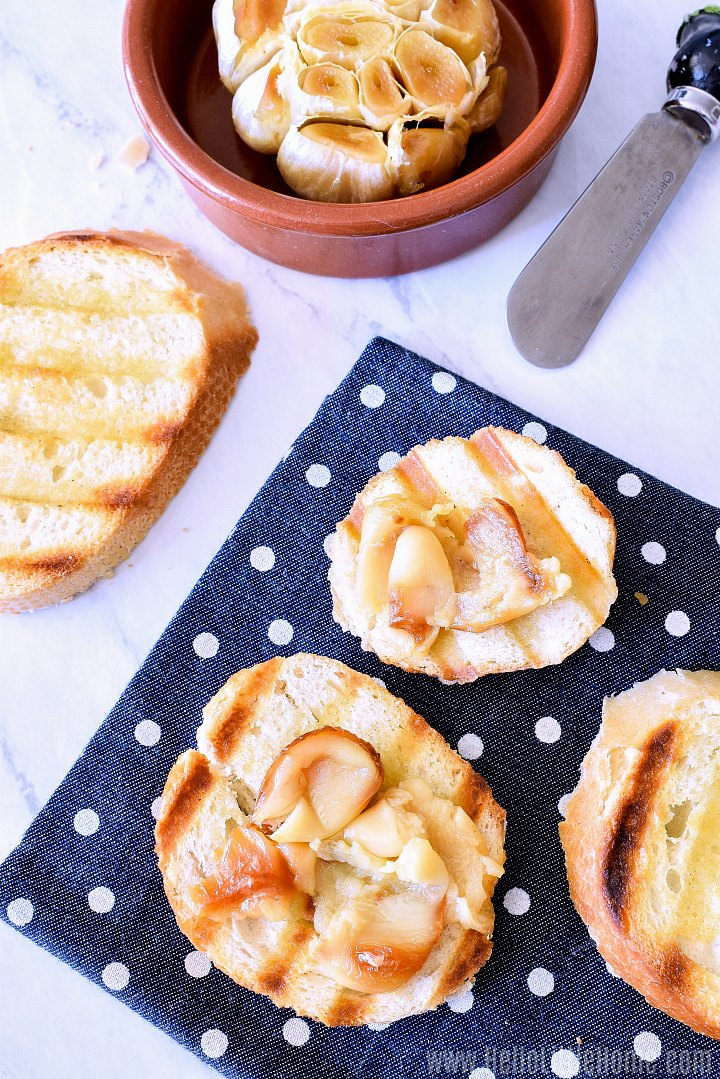
You can serve this yummy garlic spread on bread, added to dips, mixed into quesadillas, and so much more. Best of all, it couldn't be easier to make!
If you've never baked garlic before, then this recipe is for you! I'm going to walk you through the simple process, sharing lots of tips along the way, plus you'll learn how to use it and store it.
Ready to dig in? Let's go!

Why You'll Love This Recipe
Baking garlic transforms raw garlic in a way that's almost magical! The cloves become soft and spreadable, the flavor is milder, nutty, and little sweet. All the sharp flavor and bite is gone, and what's left behind is so amazing!
You can eat this Baked Garlic on its own, or use it in other recipes (check out my tips below!) ... it's healthy, low cal, and easier to digest than raw garlic. Not to mention, super delicious!
Ingredients
This easy recipe uses the most basic of ingredients! Here's what you'll need:
- Garlic - You can use whole heads of garlic or individual cloves for this recipe.
- Extra Virgin Olive Oil
- Salt - For the best flavor, I recommend using kosher salt.
You'll Also Need
You'll also need some aluminum foil to wrap the garlic in when baking. If you'd prefer not to use aluminum foil, then I'd recommend using a Garlic Roaster or another oven-safe dish (with a lid) instead.

How to Make Roasted Garlic
This the easiest and best way to roast garlic. Once you master the simple process, you'll want to make it all the time!
You'll find a detailed recipe card below, but here's an overview of the steps:
- Remove papery skin from garlic. Start by removing any excess papery skin from the garlic, leaving the cloves intact if you're using whole bulbs.
- Trim tops off cloves. Next, take a sharp knife and cut off about ¼ to ½-inch from the top of the bulb, exposing the individual cloves. Make sure to get all the cloves ... you will probably need to cut around the outside of the bulb to get everything. For individual cloves, just trim off the top of each clove.
- Drizzle with oil + sprinkle with salt. Place the garlic on a large piece of aluminum foil, then drizzle the heads of garlic with olive oil. Use your fingers to rub the oil onto the cut side of the cloves, then sprinkle them lightly with salt. If you have any individual cloves, rub their cut side in the oil and sprinkle with salt.
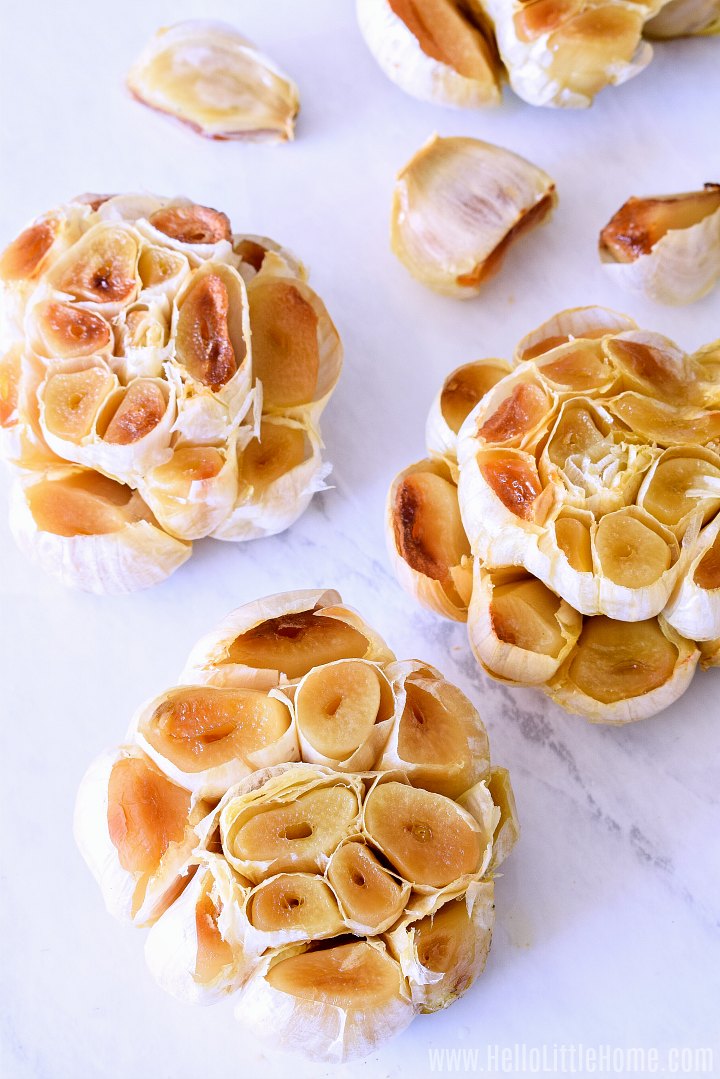
- Roast. Wrap the cloves with the foil. You want to wrap the garlic just well enough so that the foil is sealed, but not so tightly that you can't check on the garlic while it cooks. Then, roast until cloves are tender and have turned light brown ... its should take about 40 to 50 minutes or so.
Once the Roasted Garlic is cool enough to handle, simply squeeze the cloves from their skins, and it's ready to use. So easy, right?
Tip: The temperature called for in this recipe is 400 degrees, but feel free to throw garlic in with whatever you are baking. That way, you'll always have some on hand. Just adjust the roasting time up or down depending on your oven temperature.


How to Use Roasted Garlic
There are so many different Roasted Garlic uses, each one more delicious than the next! Here are some of my favorite ways to eat it:
- Spread the cloves on thick slices of your favorite bread or crunchy Crostini.
- Fold into mashed potatoes ... these Garlic Mashed Potatoes are next level delish!
- Mix into Mac and Cheese.
- Use the Baked Garlic (on its own or mixed with mayo, mustard, or both) as a sandwich spread.
- Add to garlic bread spread. It would be delicious mixed in my Garlic Bread recipe ... or even better, Cheesy Garlic Bread!
- Toss with veggies, pasta, and Parmesan cheese for a simple dinner.
- Mince or mash the garlic, then add it to your favorite vinaigrette.
- Make this delicious Roasted Garlic Hummus!
- Mix with sour cream and fresh herbs to make a simple dip.
- Blend with ricotta (and a few other ingredients) for the best Baked Ricotta appetizer ever!
- Use anywhere you might use butter, such as on a baked potato.
- Stir into soup as it simmers ... it would be delicious in this Minestrone or this simple Vegetable Soup.
- Spread over a pizza crust for a no fuss sauce.
- Toss with sauteed, steamed, or Roasted Veggies just before serving.
- Add a pop of flavor to almost any recipe, like dips, casseroles, Garlic Bread, gravy, Pesto, and other sauces.
However you use it, this is a recipe you're sure to return to time and time again!

Storage
Roasted Garlic is best when it's fresh, however it will keep for about three days in the refrigerator. Refrigerate the garlic in an airtight container or zip top bag until you're ready to use it.
You can also store the cloves in olive oil (make sure to refrigerate the oil) or freeze it. To freeze the garlic, place the cloves on a baking sheet, then freeze. Once the cloves are frozen, transfer them to an airtight container or bag, and keep frozen until ready to use.

Roasted Garlic
Ingredients
- 1 head garlic
- 1 teaspoon extra virgin olive oil
- kosher salt
Instructions
- Preheat oven to 400 degrees.
- Remove any excess papery skin from garlic head, keeping cloves intact.
- Use a sharp knife to cut ¼ to ½-inch from top of garlic head, exposing cloves.
- Place garlic on a piece of aluminum foil. Drizzle cut garlic with oil, then use fingers to rub oil into garlic. Sprinkle lightly with salt.
- Wrap garlic with foil, then bake until garlic cloves are soft and browned, about 40 to 50 minutes.
- Set aside garlic until cool enough to handle, then squeeze garlic from skins.
- Use immediately, or store in refrigerator for up to 3 days. Enjoy!
Video
Notes