Learn how to make a DIY Olympic Torch! This Paper Torch Craft is super easy, and it uses inexpensive supplies (like tissue paper). A fun Olympics activity for kids (and all ages)! Use the Flame for games, costumes, centerpieces, party decorations, and so much more.

This post contains affiliate links. As an Amazon Associate I earn from qualifying purchases.
Ginnie's Take
The Games are officially here, and I couldn't be more excited. For the next couple weeks, you'll find me glued to my TV! I'm always looking for fun ways to enhance the viewing experience while getting a little crafty. If you're looking for fun Olympic arts and crafts ideas too, you're going to LOVE this DIY Olympic Torch! This simple paper craft is sure to spark joy for kids and adults alike. You can make this easy project in minutes, and it's the perfect addition to a party, costume, or a night cheering on your fave athletes.
Why You'll Love This Project
- Quick + Easy - My step-by-step tutorial is super simple to follow, and the project uses basic, affordable supplies (you probably have most of them). You'll find detailed instructions below, as well as printable directions at the end of the article.
- Fun for Kids (and Adults) - This project is super fun for kids, as well as kids at heart. Get the whole family involved!
- Versatile - Wave your torch as you watch the Games, use it as a dinner table decoration (it makes a great Olympic themed centerpiece), or carry it as part of a costume. You'll find more ideas below, too!
Jump to:

Supplies
You need just a few simple supplies to make this clever Olympic Torch Craft:
- Paper Towel Tube - The next time you use a roll of paper towels, save the tube for this project. Other paper tubes will also work, but you may need to shorten them, or use longer / shorter paper to wrap it.
- Paper for Wrapping the Tube - You'll also need paper for decorating the tube. Letter-size paper is the same height as most paper towel tubes, and I recommend using cardstock for the sturdiest results. I used light grey cardstock, but if you prefer sparkles, silver cardstock or gold cardstock will also look great!
- Tissue Paper - Grab some red and orange tissue paper for the flame! You'll need one sheet of each color. I got mine from this multi-color tissue paper pack, but you can purchase individual packs of red tissue paper and orange tissue paper, if you prefer.
- Tape - I used clear tape to attach the paper to the paper towel tube. I'd recommend using permanent double sided tape if you have it though, because it will create a nicer looking, no show finish.
- Optional - If you have it, you can use craft glue or hot glue to permanently attach the tissue paper flame to the torch. Tip: The torch will hold together without any adhesive, but you may want to use glue if kids will be playing with it.

How to Make an Olympic Torch
This Torch Decoration couldn't be easier to make! Follow the steps below, or scroll to the very end of this post for printable directions.
- Wrap torch. Start by taping the cardstock paper directly to the paper towel tube, then wrap the paper tightly around the tube. Use clear tape to cover the seam and hold the paper in place, or use permanent double sided tape for a neater, no-show finish. Tip: If you aren't using letter-size paper, or if your paper tube is larger (or smaller) than 11-inches, so may need to cut the paper to size first.
- Layer tissue paper. Next, fold your tissue paper sheets in half (lengthwise), then slide the orange paper inside the red paper.
- Create flame. Roll up the tissue paper loosely, then twist the bottom half (the folded end of the tissue paper) just enough to fit into the paper towel tube. Carefully pull apart the layers of tissue paper on the other end to create a flame effect.
- Attach flame to torch. Slide the tissue paper flame into the tube. The torch should hold together on its own, however if your kids will be playing with it, you can add craft glue or hot glue inside of the tube before adding the flame. Make sure to let the glue dry before using.
Okay, your DIY Olympic Flame is ready to use! Wasn't that easy to make?

How to Use
Now that you've made your own Olympic Torch, what should you do with it? Here are some fun ideas:
- Games - Use the Homemade Torch in a backyard relay race!
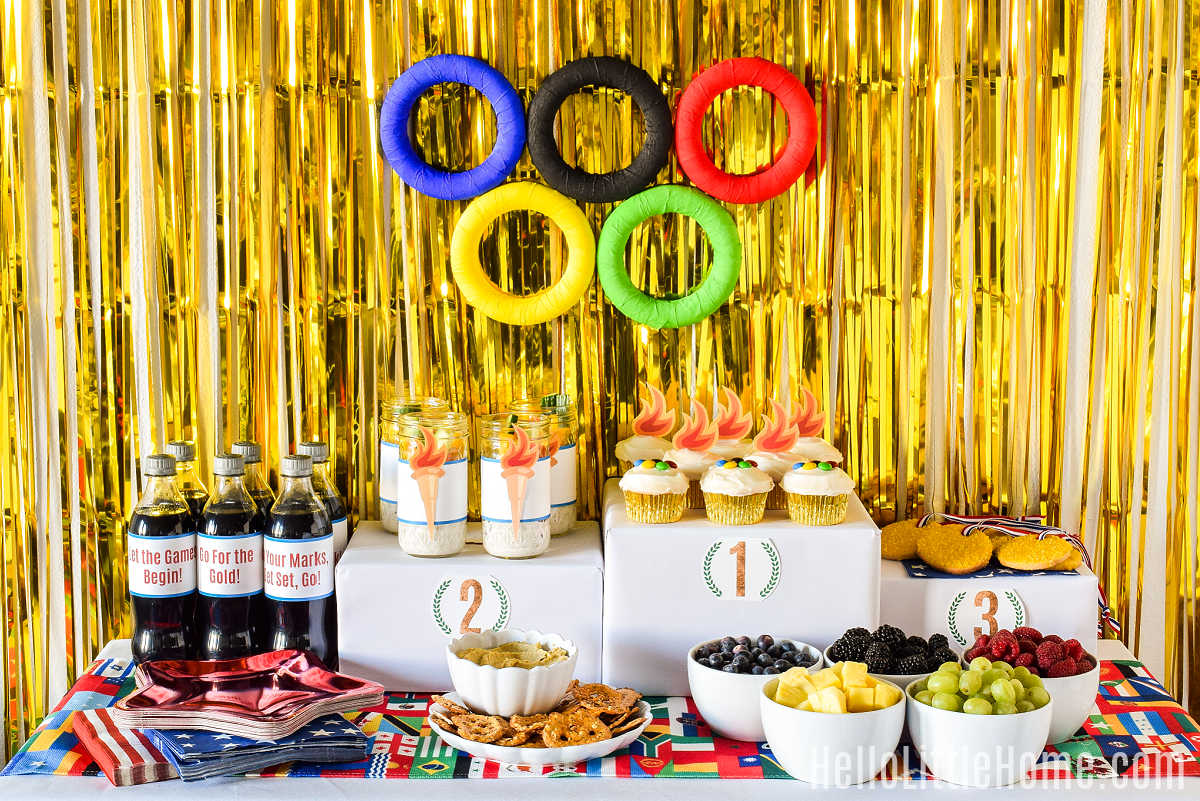
- Centerpiece - Create an Olympic themed tablescape with this easy paper project as the centerpiece.
- Opening Ceremony - Wave the Flame during the Opening or Closing Ceremony, or anytime you're cheering on your favorite Olympic and Paralympic athletes!
- Party Decoration - Use the torch as a decoration for an Olympic Theme Party.
- Costume - Dress up as an Olympic athlete or torchbearer for Halloween (or for a costume party). This DIY Torch is the perfect costume prop!

Frequently Asked Questions (FAQs)
The Olympic Flame is one of the most well known Olympic symbols. It symbolizes the continuity between the ancient and modern Games, and it spreads a message of peace and friendship. The Ancient Greeks considered fire a sacred element, and during the ancient games in Olympia, a flame burned permanently on the altar of the goddess Hestia. Today, the flame is lit at the Game's ancient site in Olympia, Greece a few months before the Olympics begin, marking the start of the Olympic Relay.
The Olympic Torch is lit during a ceremony at the site of the original Olympic Games in Olympia, Greece. Using an ancient method, the Torch is lit in front of the Temple of Hera using the intense heat of the sun's rays (as captured by a parabolic mirror). On overcast days, the Torch may be lit by a flame instead.
The Olympic Torch is used to transport the Olympic Flame from Greece to the Olympic Stadium. It's transported via a Torch Relay, which starts in Greece and continues through the host country. Once the Torch reaches the Olympic Stadium during the Opening Ceremony, the Flame is used to light the Olympic Cauldron. The lighting of the Cauldron symbolizes the opening of the Games.
During the Olympic Torch Relay, torchbearers pass the Olympic Flame from torch to torch, as it travels between Greece and the host country's Olympic Stadium. The first modern Torch Relay, which was inspired by the torch races held in ancient Greece, took place at the controversial 1936 Berlin Olympics. These days, the Olympic Torch is lit in Olympia, Greece (the site of the ancient Games) a few months before the start of the Games. Once lighted, the Torch is transported to Athens, Greece before it travels to the host country. After reaching the host country, the route varies, but it's typically carried through various towns, cities, regions, and monuments by hundreds (if not thousands) of torchbearers. When the Torch reaches the Olympic Stadium, it is used to light the Olympic Cauldron, symbolizing the start of the Olympic Games. Read more stories of the Torch Relay!
The Olympic Flame has gone out numerous times during Olympic Relays. Usually, this has been due to weather (such as rain or wind), but the Torch was also put out by officials during protests before the 2008 Beijing Olympics. When the Torch goes out, it's usually re-lit by a backup lantern. However other methods have been used. During a relay before the 2014 Sochi Games, the torch was extinguished by wind as a man ran through a long tunnel. It was quickly re-lit by a cigarette lighter. The Olympic Cauldron has also been extinguished during the actual games. When a squall drenched the Cauldron at the 1976 Montreal Olympics, it was reportedly also re-lit by a lighter!
The idea of the Olympic Cauldron was first introduced at the 1928 Amsterdam Games, where it was lit on a tower overlooking the Olympic Stadium. Since the 1936 Games, the Olympic Torch has been relayed through Greece and the host country. Then during the Opening Ceremony, the Torch is carried into the Olympic Stadium and used to light the Cauldron. Each Olympic Cauldron has a unique design, and each one is lit using different methods. One of the most spectacular lightings was during the 1992 Barcelona Games, when Antonio Rebollo (a Paralympic archer) fired a burning arrow over the Cauldron to ignite it. The lighting of the Olympic Cauldron marks the official opening of the Olympic Games.

More Olympics Activities + Ideas
Looking for more Olympic crafts and activities? Check out my Olympic Party guide for free printables, food ideas (like these yummy Olympic Cookies), DIY projects, and more!


DIY Olympic Torch
Materials
- paper towel tube
- grey, silver, or gold cardstock paper (letter-size)
- clear tape
- permanent double sided tape (optional)
- 1 sheet red tissue paper
- 1 sheet orange tissue paper
- craft glue or hot glue (optional).
Instructions
- Use the clear tape to attach the cardstock to the paper towel tube. Then wrap the paper around the tube and attach it on the other end with more tape. (For a neater appearance, use double stick tape to attach the cardstock to the tube.)

- Fold the tissue paper in half (lengthwise), then tuck the orange paper into the red paper.

- Loosely roll up the tissue paper, then twist the folded end just enough fit into the paper towel tube. Carefully pull apart the layers of tissue paper on the other end to create a flame effect.
- Slide the tissue paper flame into the tube to finish the torch. (Optional: Add craft glue or hot glue to the inside of the paper towel tube before adding the flame. Let the glue dry before using. This will hold it in place more permanently.)


