Amp up your manicure with this Easy Striped Nail Art ... it's simple to do and super eye-catching!

This post contains affiliate links.
This Striped Manicure is about as simple as nail art can get. So even if you are nail polish-challenged like me, I'm confident that you can do it.
The vertical stripes are so fun, but you can use the same technique to make horizontal stripes, too.
Are you ready to get started?

Easy Striped Nail Art
Here's what you'll need:
- base coat
- top coat
- neutral nail polish
- 1 or more shades of nail polish for the stripes - I have lots of polish, so I decided to multiple colors for my nails, but you can use one color if you'd prefer.
- manicure clean up pen and/or orange stick
- tape
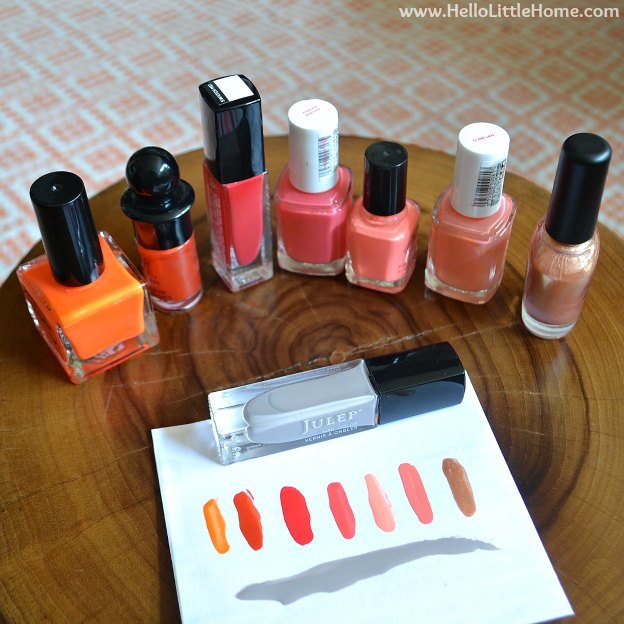
Left to right: Color Club Hot Tropics, Ruffian Fox Hunt, Julep Tamara, Essie Sunday Funday, Essie Tart Deco, Color Club Reign in Spain (part of a set), Piggy Polish All That Glitters; Front: Julep Lorenzana
I test a number of colors on a piece of white paper, so I could see what worked best together. I chose to use five different colors for my stripes, but this manicure would look just as pretty with one color.
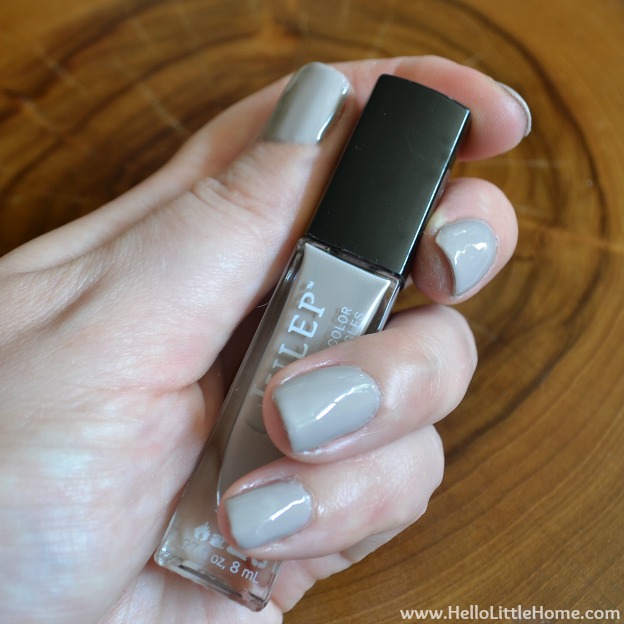
Start by covering your nails with your base coat (I love Orly Bonder) and then paint your nails with a couple coats of your neutral color. The polish should completely cover your nails. Use your nail polish clean up pen or orange stick to fix any mistakes, and then wait for your nails to dry before starting on the next step.
I'm impatient, so I added a coat of Seche Vite Dry Fast Top Coat to speed the drying process up.
How to Do Stripes on Nails
Once your nails are dry, add two strips of tape to each nail, leaving a narrow gap open between the strips.
I used painter's tape, but transparent tape (the kind used for wrapping gifts) would also work.
Note: I went a little crazy with the tape! You just need enough to cover your nails.

Choose one of your stripe colors and paint a thin layer right over the tape.
Remove the tape and admire your stripe.

Repeat this process on your remaining nails. Finish your manicure by adding a top coat.
That's it!
I have to admit that I was pretty impressed with myself when I finished this easy striped nail art.
Give it a try ... it's such a subtle way to add a little extra fun to your manicure! And of course, you can use this same technique to add horizontal stripes to your nails.

Loved this fun striped manicure?
If you enjoyed this easy nail art, here are some other manicure and nail art ideas you'll love!
- Easy At-Home Manicure ... start with the basics!
- Edgy Glitter Manicure
- Washi Tape Nail Art
- Polka Dot Nail Art
- Wide Stripe Nail Art
- Easy Manicure with Nail Art Pens
Have you ever attempted nail art?
Gorgeous colors! Now you're making me wish I didn't skip haha
Thanks for linking up with MMG 🙂
This looks awesome! Pinned. Lou Lou Girls
Thank you so much, Kimberly!
What a great way to use painting tape! Never thought of it! I will have to try it next time i try to do nail art!
It worked really well, Jill!
Ooh, this turned out great! And can I say I'm really happy to see that someone else has a nail polish collection of a bunch of different shades that are alllmost the same but not quite? Hee hee.
Gina - On the Daily Express
It's a problem, Gina;) This is just the tip of the iceberg, too!
Oh so fun!!!! Love it!
Thanks so much, Christine!
Cute! I'm all about the simple nail art. I can't devote that much time to something that chips off in a few days!
I feel exactly the same way, Andrea!
I hardly ever do nail art because I lack the patience, but when I do I like to keep it simple like this. Very pretty, Ginnie!
Glad you like it, Amy! I'm all about simple, too:)
I rarely paint my nails, let alone do nail art. But I love to look at the designs that other people come up with. You did good.
Thanks, Terra! It's really easy:)
Oooh I love the look!
Thanks, Heather!