This DIY Christmas Marquee Sign is a fun and easy way to decorate for the holidays!

This post contains affiliate links.
I love perusing holiday catalogs at this time of year. There is so much inspiration, especially if you are crafty like me!
One of my favorite catalogs is Ballard Designs. Everything is gorgeous, and I always find tons of fun ideas in those pages!
Recently, I spotted a light up Christmas Marquee sign in their catalog, and I was inspired to try to recreate it myself.
This DIY Christmas Marquee Sign is the result, and it turned out sooo cute!

The Ballard Designs holiday marquee sign spelled out Joy in oversized letters. The J and Y were made out of metal, and the O was a beautiful green wreath.
Their Joy holiday sign was so cute, but way too big for my tiny apartment.
I immediately started thinking about how I could get a similar look for my home. And of course, I wanted to create my own handmade Christmas sign without spending a ton of money or time!
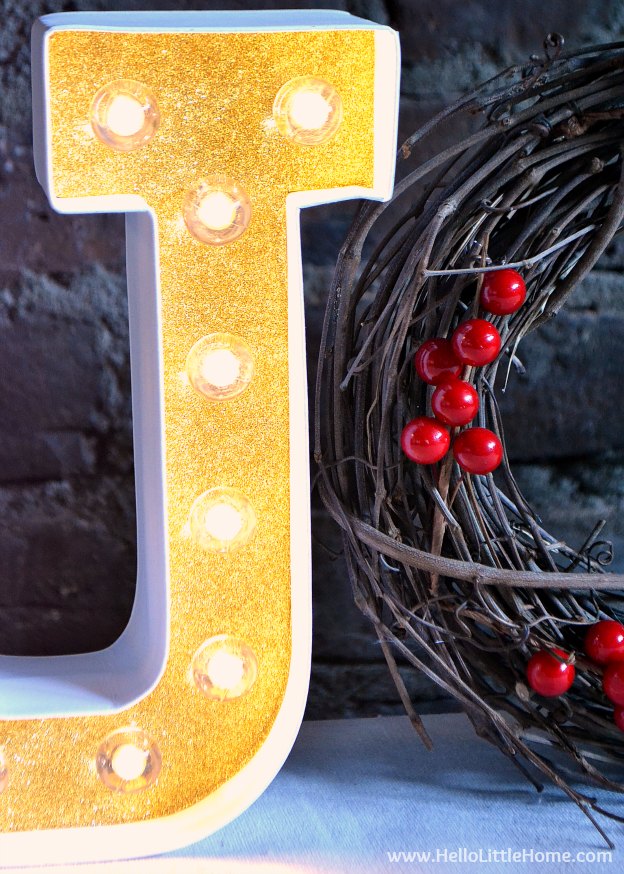
I already had a grapevine wreath, so I decided to use that instead of a green wreath. With the addition of a few berries, the wreath turned out so cute.
For the letters, I decorated two Heidi Swap Marquee Kits with gold glitter paper.
I first used one of these kits to make my arrow marquee light, and I have been obsessed ever since! They are so fun and simple to use.
I'm so happy with how my DIY Christmas Marquee Sign turned out. It only took a few minutes to make, and it's such a great addition to my holiday decor!


How to Make a DIY Christmas Marquee Sign
Want to make your own DIY Joy Christmas sign? Here's what you'll need:
- 8" grapevine wreath
- decorative berries (I found mine at Michaels, but this red berry cluster is similar.)
- hot glue gun
- J Letter Kit
- Y Letter Kit
- gold glitter paper
- scissors
- double sided tape
- AAA batteries
Start by pulling apart the berries into small clusters. Hot glue the berries to the front of the wreath. I attached five berry clusters to my wreath.
By the way, I finally got a new hot glue gun! I didn't use it for this project, but I'm hoping my new one leads to fewer burned fingers ... ha ha. I've had the same glue gun forever! It was passed down from my mom, and she had it for a long while, too.

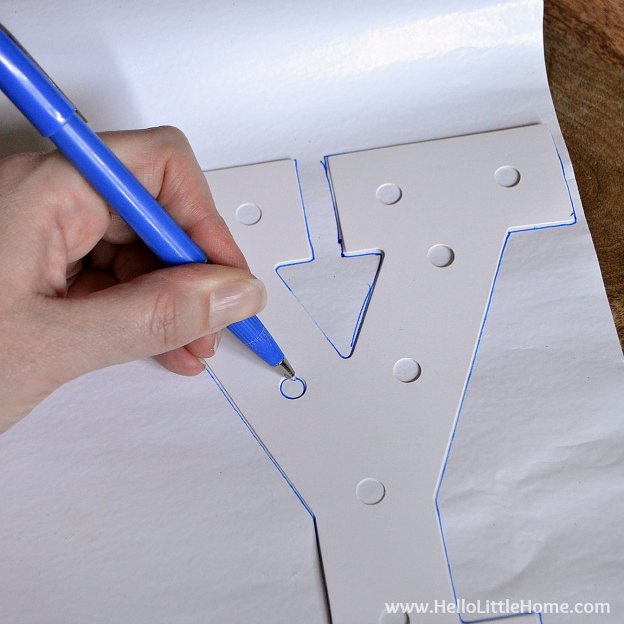
Next, place the template that comes with your marquee kit on the glitter paper.
Trace around the template, then cut it out.
Don't worry if the circular holes aren't perfect.
Attach the glitter paper to the letter with double sided tape.
This glitter paper is a little messy, but it's so worth it. You won't believe how much it sparkles!

Press the bulbs through the holes.
Flip the letter over and insert the lights that came with the kit. Insert two AAA batteries in the battery pack.
Repeat these steps with the other letter.

That's it, your lighted holiday marquee sign is complete!
Turn it on and enjoy the beautiful glow!
I love displaying this DIY Joy Sign every holiday seaon!
Check it out in my Loft Holiday Tour here.

What are your holiday decorating plans?
P.S. Check out all of my Christmas decor ideas, DIY projects, and recipes!
I bought the same letters, but I totally did not think of using a wreath for the O! That is such a cute addition, thanks for sharing! :o)
So cute and I know that you really enjoy this at night when it's lit up.
This is an amazing idea! Thanks for sharing. Hi, I'm Anita visiting from Link Party Palooza.