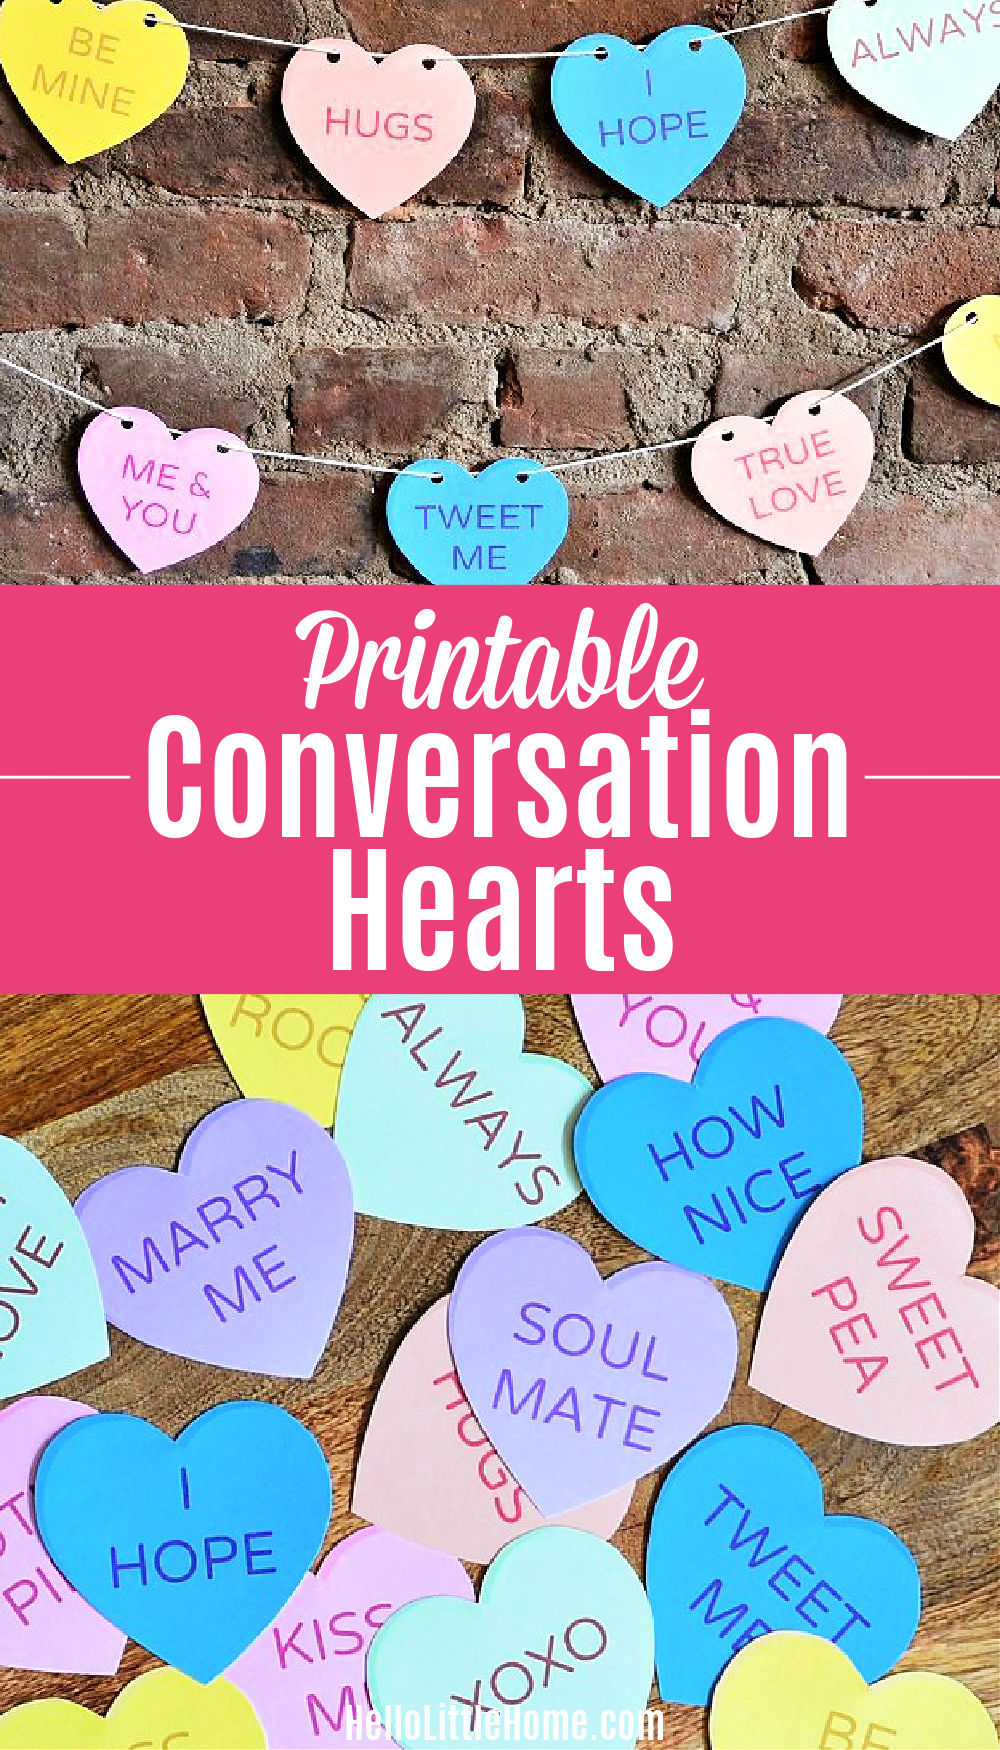
These FREE Printable Conversation Hearts are so cute, sweet, and easy to use! Use them to make an adorable Conversation Heart Banner, Valentine's Day cards, and so much more!

This post contains affiliate links. As an Amazon Associate I earn from qualifying purchases.
I've always loved Conversation Hearts. It's not really about the taste, although I ate my fair share as a kid. I just adore the cute colors and silly candy heart phrases.
There has been an empty space over my fireplace ever since I took down my Christmas decorations.
I'm still trying to find the perfect artwork for the spot, but in the meantime, I thought it would be fun to do something temporary for Valentine's Day.
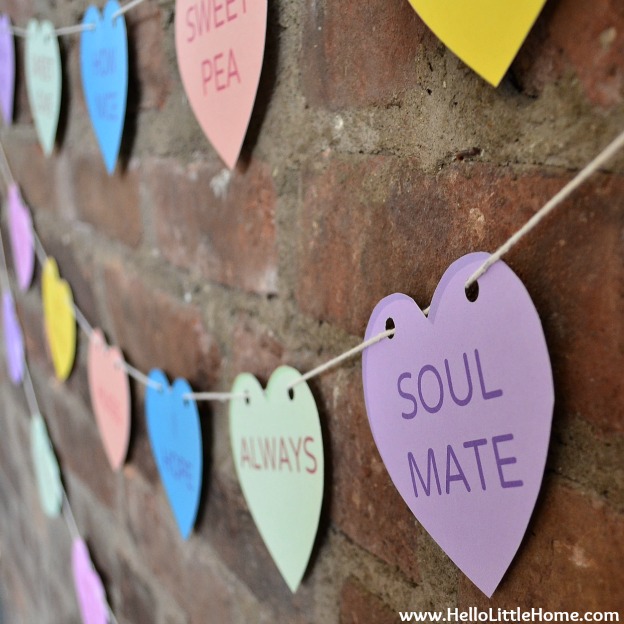
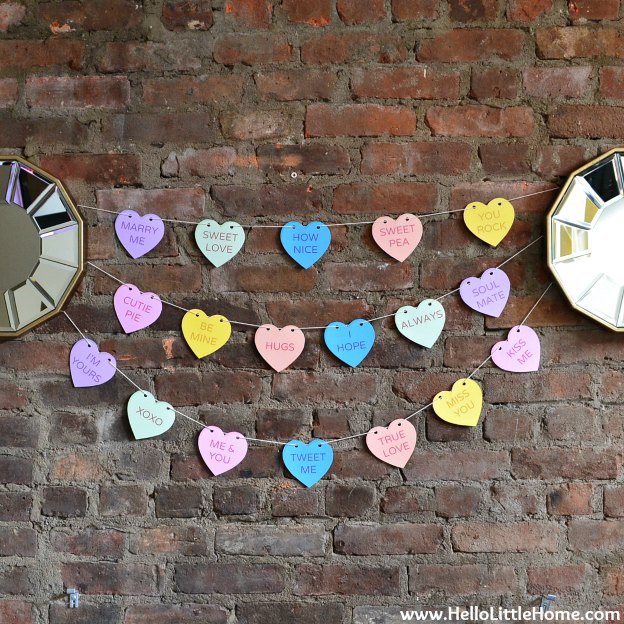
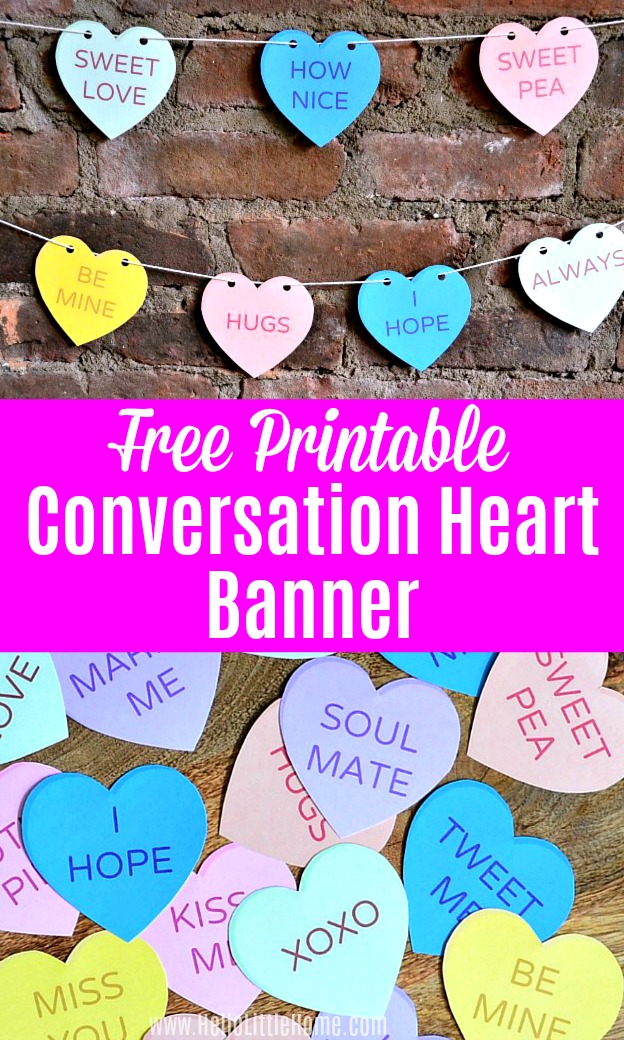
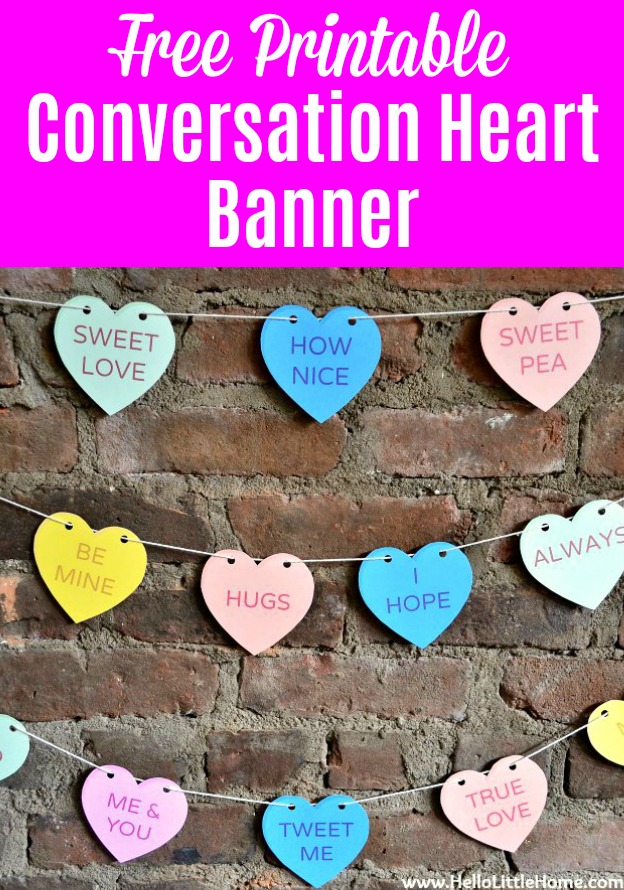
What I came up with were these Printable Conversation Hearts! There are a million creative ways to use these hearts. I used these adorable hearts to create a sweet banner, and I'm sharing a tutorial so you can make one, too!
I had sooo much fun creating these cute printable hearts ... the colors! the sayings! Aren't they sweet?
These heart printables are so versatile, and you can download them for free at the end of the post. There's even a Spanish version!

How to Use the Printable Hearts
I used these printable hearts to make a DIY Conversation Heart banner. I'm sharing the tutorial below, and it couldn't be simpler to make. If you have have kids, make sure to rope them in.
There are so many other creative ways to use them, too! Here are a few ideas to try:
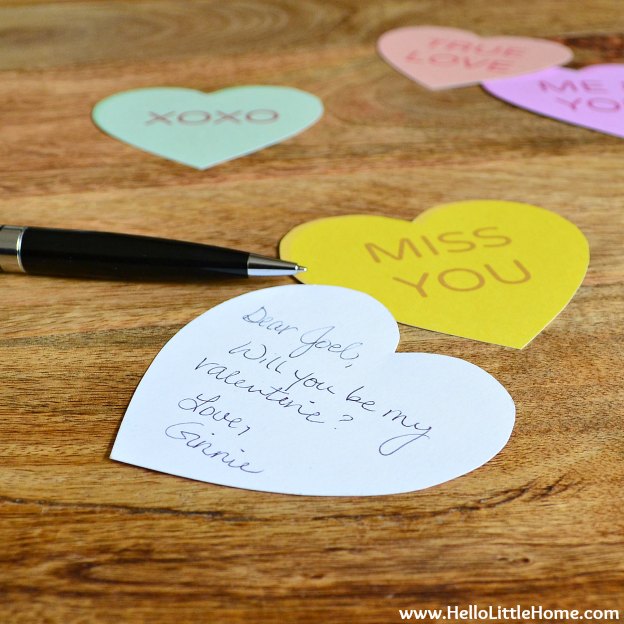
- Valentine's Day Cards - Print out the hearts and write a message on the back. They make such fun, vintage-inspired Valentine's Day cards!
- Gift Tags - Attach the hearts to presents as an adorable gift tag.
- Art - Pick your favorite sayings, then display those hearts in a simple frame. They'd look so cute in a small shadow box ... I would buy a few and display a different heart in each one!
- Cake Topper - Tape a skewer to the back of a heart, then use it as a cake topper. You could also shrink them down (using your printer settings) for cupcake toppers.
How to Make a Conversation Heart Banner
Here's what you'll need to make your own Conversation Heart Banner:
- Conversation Heart Printable (download it at the end of the post)
- Card Stock
- Scissors
- String
- Hole punch

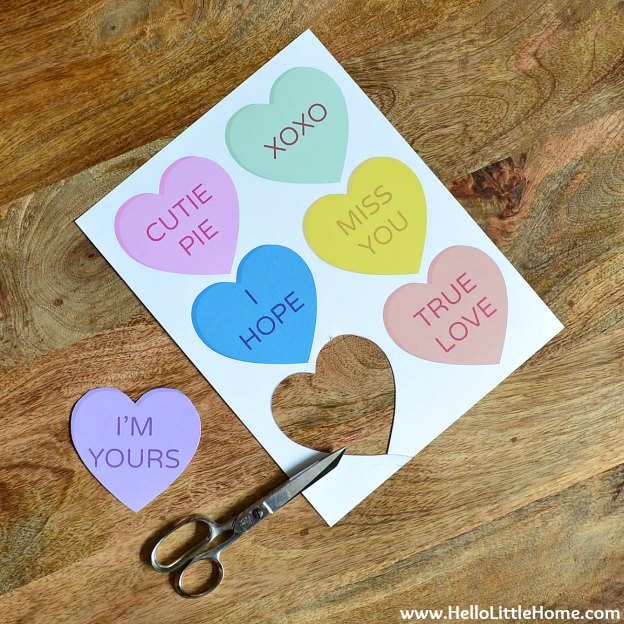
1. Print + Cut Out the Hearts
Start by downloading the printable heart template and printing it on card stock. Then, cut out the hearts. There are 18 different sayings. You can use them all, or choose your favorites.

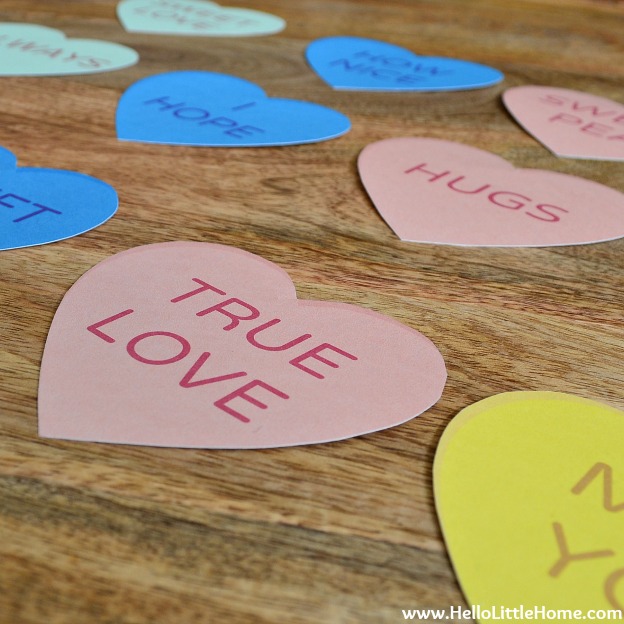
2. Arrange the Hearts
Next, lay out the hearts on a flat surface. Arrange the hearts in the order that you want to string them up.
I wanted to hang my banner between two mirrors, and there was a fairly large vertical space to fill. So I decided that my garland would have three rows. The banner is totally customizable to your space though, so create as many or as few rows as you would like.
Make sure to mix up the colors if your banner will have more than one row. Look at the pictures of the finished banner, and you'll see what I mean. The end result will be more interesting if all your purple, blue, yellow, etc. hearts do not line up vertically.
3. Punch Holes
After you find a pattern that you like, punch two holes in the top of each heart with your hole punch.

4. Add String to Banner
Grab your string next. Measure the spot where you want the banner to hang. In my case, I planned to hang the banner between two mirrors, so I measured that distance and then added a little extra string.
Definitely err on the side of too much, rather than too little string, and if your garland will have multiple rows, then you'll need multiple pieces of string.
Taking your string and a heart, pull the string through the left hole (going over the top of the heart), and the draw it out of the right hole (going behind the heart in between holes). Pull the heart to the opposite end of the string, and then repeat the process with your remaining hearts.
If your banner will have more than one row, use a separate piece of string for each row and repeat the process.
By the way, you can change up the banner by using colorful string or ribbon (this pink baker's twine would be so cute!) OR skip the hole punch and attach the hearts to the string with tape or mini clothespins.

5. Hang the Banner
To finish the banner, I simply tied the ends of the string to the nails behind my mirrors. You can also tape up the banner (or use Command Hooks), depending on where you are hanging it. Then, simply pull the hearts along the string to adjust their position. Voila!
Printable Conversation Hearts
I created three pages of printable Conversation Hearts for this project, all with different messages! Click anywhere on the images below to download the PDF files. You can find the Spanish Conversation Hearts here!


Let me know if you make a banner, or if you use the Conversation Hearts Printables another way. I'd love to see how it turns out!
More Valentine's Day Ideas
Looking for more creative Valentine's Day crafts and recipes? You'll love these fun ideas, too:
- Easy Valentine's Day Decorating Ideas
- Printable Kissing Booth Sign
- Love Wall Art
- Heart Shaped Pizza Tutorial
- Easy Chocolate Fondue ... you'll love these Chocolate Fondue Dipper Ideas, too!
- Chocolate Covered Strawberries
- Mini Ombre Cakes
- Chocolate Covered Raspberries
- Heart Cake Pops
Thank you for linking up @ Craft, Create & Inspire linky party last week !! Your awesome project is featured this week 🙂
I hope you will stop by this week and share your projects with us this week !!
Have a great weekend Claire xo
Thank you so much, Claire! You've made my day:)
This is an adorable garland!
Thank you so much:)
Love this idea!! 🙂
Thanks so much, Elina:)
This is so cute! Thanks for the freebie and for sharing at The Makers! Pinning!
You're welcome, Corey:) Thanks for stopping by!
This is so cute and festive! Thanks for sharing it with us at Sewlicious Home Decor. Pinned to the Valentine board!
You're welcome, Marti! Thanks so much for pinning:)
Super duper cute! Pinned:)
Thanks so much, Michelle!
Thanks for linking to Take-A-Look Tuesday over at Sugar Bee Crafts - you were featured today!! and pinned to my features board!
--Mandy, SugarBeeCrafts.com
Oh yay! Thank you so much, Mandy!!
This is such a cute idea!
Now I'm trying to figure out how to put my own spin on it for the hubby!
Thanks, Jen! I'd love to know what you come up with:)
These turned out great! I love the "old fashioned" print and cut with scissors! I would love it if you would link up to our party.
Thanks so much, Ashley! I'm heading over to link up:)
This banner is such a cute idea! I love conversation hearts! Stopping by from the Time to Sparkle Link Party 🙂
Thanks for stopping by, Veronica! It doesn't get much cuter than conversation hearts, does it? 😉
Oh I love this and what great printables too. Thanks tons for linking to Inspire Me. Hugs, Marty
Thank you so much, Marty:)
So simple and cute! Pinning now! ~Lisa
Thank you so much, Lisa:)
So very sweet! Love this.
Thanks, Shannon:)
I love this kind of crafty project, esp for my little daughter. This looks so much nicer than the usual paper/ fabric bunting. Thanks for sharing!
Thank you so much, Jehanne! I hope you get a chance to try it with your daughter:)
This is so cute! A fun way to decorate for Valentine's Day
Thank you so much, Lisa:) It was such a fun project!
This conversational banner is awesome, especially the conversation on the back in handwriting! Visiting via "lovelyladieslinkup' from over at http://www.ritewhileucan.com where I gush over all things paper and the lost art of letter writing.
Thank you so much for stopping by, Barb:) We don't do much handwriting anymore, do we?
This is super cute!!!
Thanks, Tessa! I'm so glad you stopped by:)
That is very cute! I never do much for Valentine's Day. I honestly am ready for my pinterest pages to be loaded with something other than cute Valentine's crafts. That being said I love this and how clean and fun it looks. Hope Joel said yes to being your Valentine!
Ha ha ... I know the feeling, Anne. I usually don't decorate for Valentine's Day either, but it was fun! Joel did accept, although he didn't have much choice in the matter;)
What an adorable idea. May share with my daughter to hang on her room door at her dorm.
Thanks, Rhonda! I love that idea:)
Super Cute! I don't usually decorate for Valentine's Day however this post has inspired me to do so!
Thanks, Elaine! I usually don't either, but I had fun doing it this year:)
Why are they so small? Is there a way to print them larger, like they are in the picture?
Hi, Christen! If you click on the small images at the end of the post, it will take you to a full-size PDF that you can print.