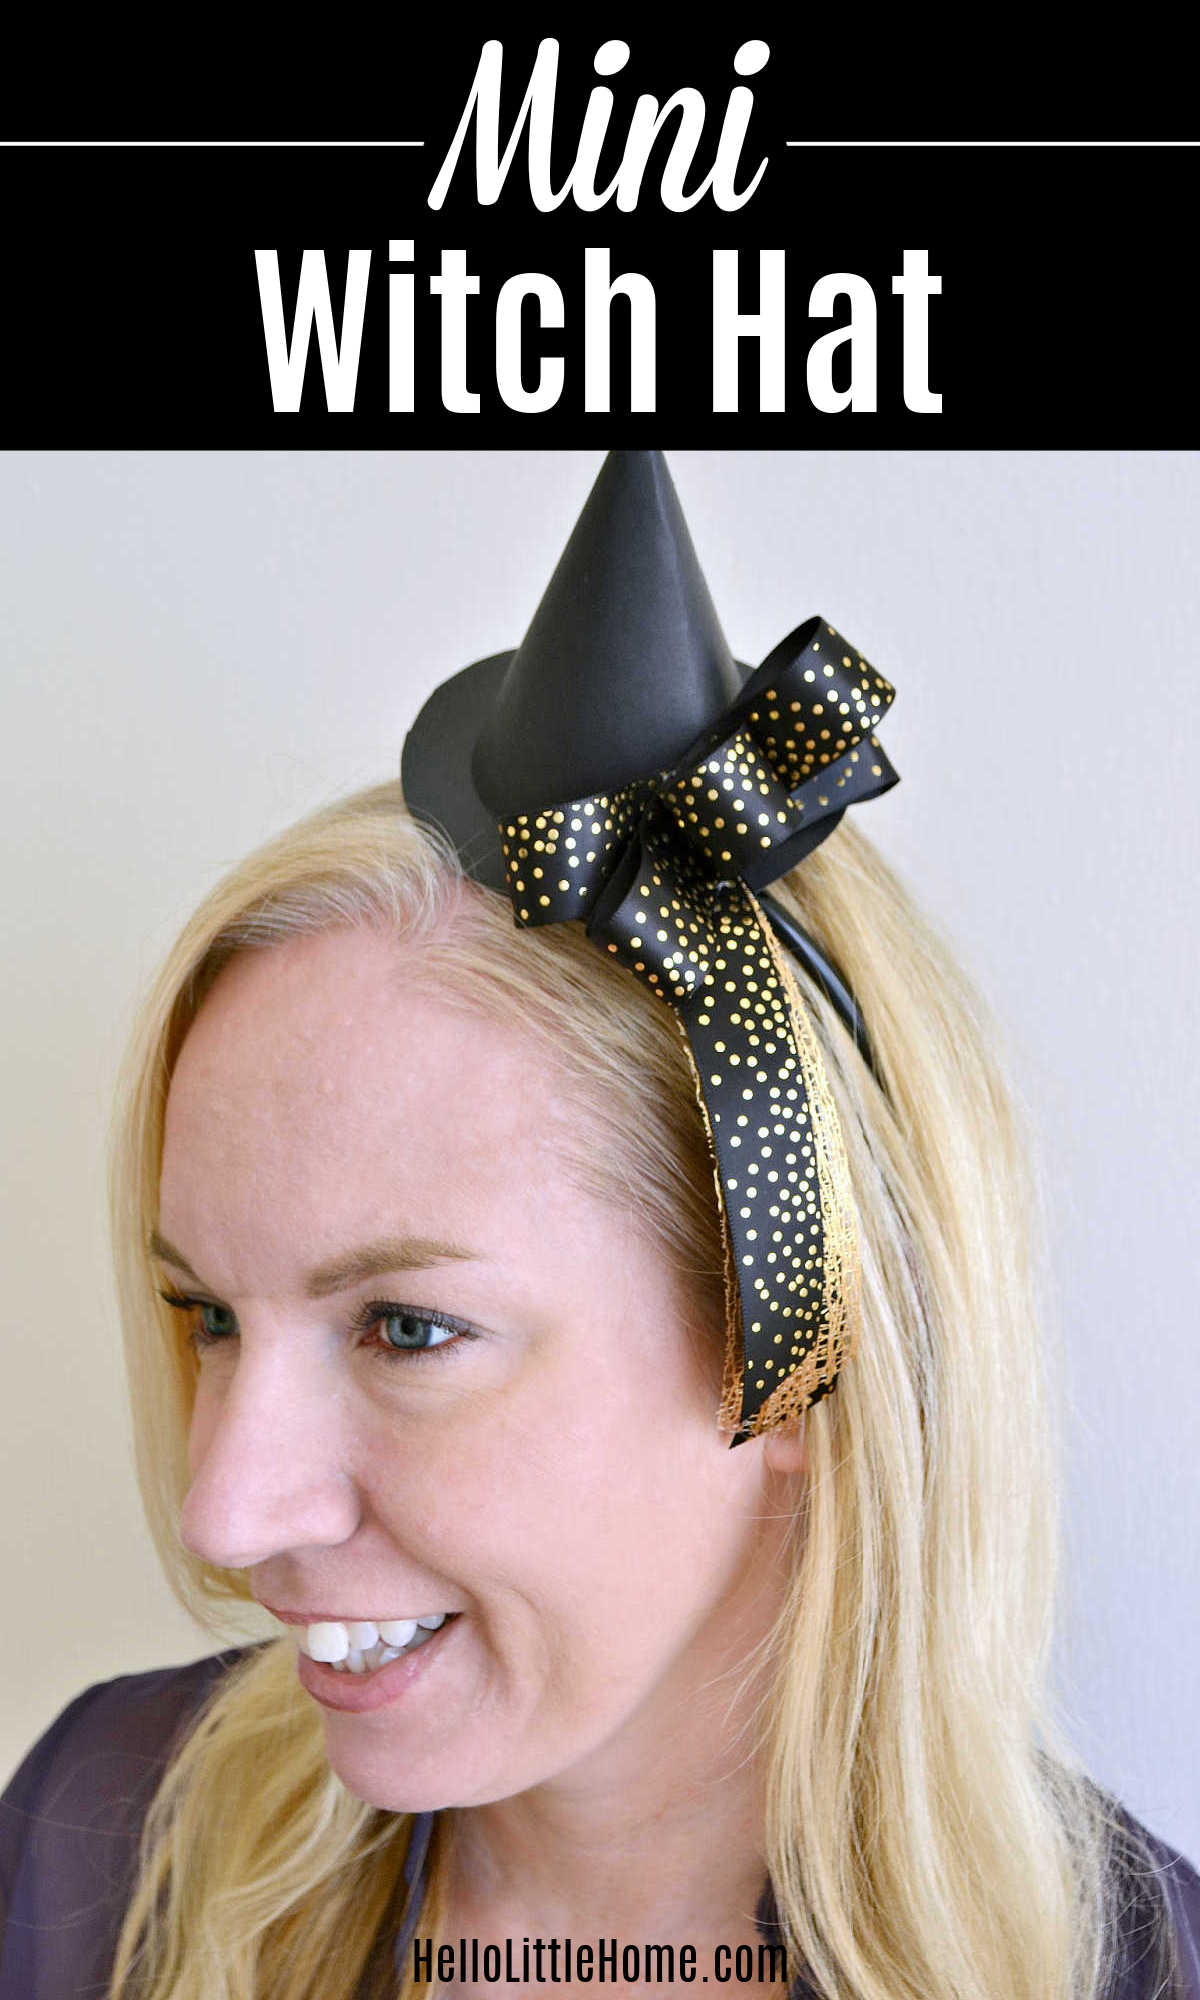
Show off your witchy side in DIY Mini Witch Hat Headband! This tiny hat is cute Halloween craft tutorial that's easy to make with the free pattern. Wear it as part of a witch costume or just for fun!

This post contains affiliate links. As an Amazon Associate I earn from qualifying purchases.
When I was a kid, my mom always made my costume ... although there was one year my sister and I rebelled and demanded a store bought costume with a plastic mask.
My favorite costume that she made was a pumpkin costume that I wore as a kid and again in Jr. High. I'm not sure how it still fit me as a teenager, but somehow I squeezed into it!
I've been a milkmaid, Dolly Parton, Pippi Longstocking, and more, but never a witch. How is that even possible?
With this Mini Witch Hat, I finally got to channel my inner witch ... and I'm going to show you exactly how to find yours, too!


About the Project
Isn't this Witches Hat Headband adorable? It's basically a fascinator for a witch ... a fancy witch!
These tiny hats are so simple to put together. You need to use a glue gun, so if you're making these hats with a kid you'll have to help them out.
Decorating the hat was my favorite part! I was originally going to go traditional, but then I decided to add a bow and ribbons instead. I love how it turned out.
Of course, you can decorate these Mini Witch Hat craft any way you'd like. So pull out your glitter, stickers, ribbon, and whatever else you have in your stash and have fun with it!

Supplies
Here's what you'll need to make your own hat:
- Mini Witch Hat Template (scroll to the end of the post for the file)
- white cardstock
- scissors
- black cardstock
- light-colored gel pen
- permanent double-sided tape
- glue gun
- ribbon, glitter, washi tape, etc. for decorating hat
- plastic headband

How to Make a Mini Witch Hat
This small Witches Hat is so easy to make! Just follow the steps below and you'll be done in no time.
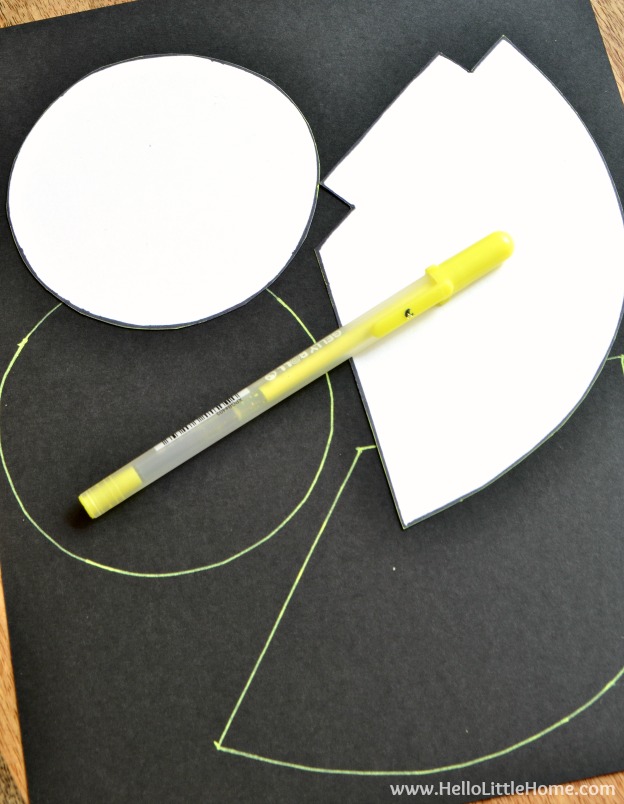
1. Prepare the pattern pieces.
Start by printing the template on white cardstock, then cutting it out. Make sure to print the template at full size, otherwise your hat will be even smaller.
Next, place the template on the black cardstock, trace around it using the gel pen, and cut out the pieces.
2. Make the top of the hat.
Fold over the flap on wedge shaped piece, then cover the flap with double-sided tape.
Roll up the wedge to form the hat, then press the tape-covered flap against the inside of the hat to hold it together.

3. Attach the top and bottom together.
Apply hot glue around the inside edge of the hat, then center it on the circle shape and press together.
Tip: since hot glue dries fast, I found it easiest to add a line of glue around the hat, then go back over the first line with another line of glue. The first line of glue will hold the second line in place, and you'll be able to move faster. You don't want to flood it will glue though or it may show on the outside.

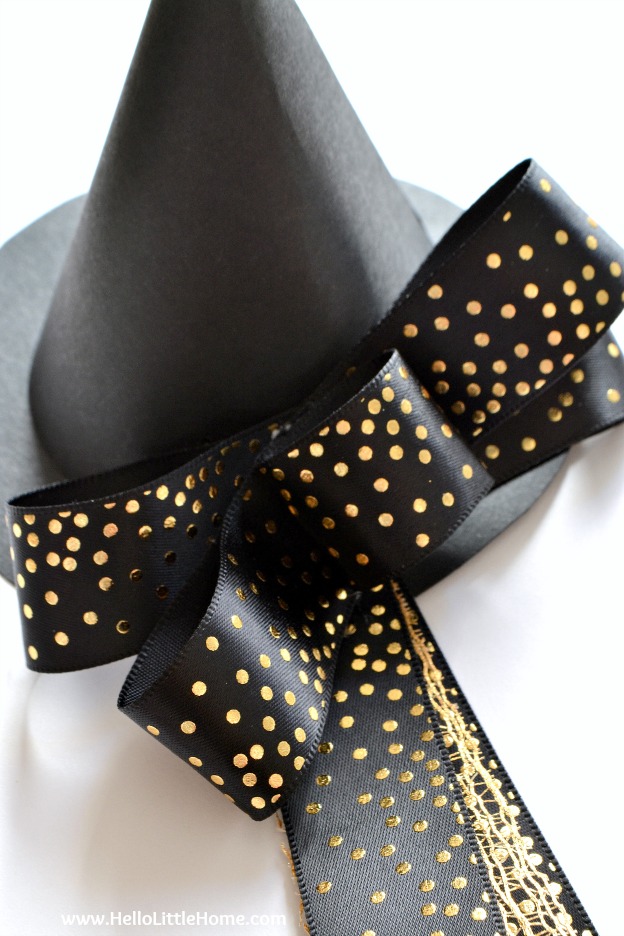
4. Decorate the Hat
Now comes the fun part ... decorating the hat! I used ribbon, but you could use glitter, stickers, washi tape, and more. Get creative!
To make this bow, I created two big ribbon loops (held together on the ends and in the middle with hot glue). Next, I glued the loops together on an angle and added a smaller loop in the middle.
Then, I layered four pieces of ribbon together for the fringe, also held together with hot glue. I wish I had spread the fringe out a bit more to show off the different ribbons.
Finally, I glued everything to the hat with more hot glue. It was super easy.
5. Attach hat to headband.
Finally, attach the hat to the headband with hot glue.
It helps to look in the mirror before committing so you can play with positioning. I attached mine on an angle, but you can put the hat anywhere on the headband you'd like.
Obviously, do not put the headband on your head until the glue is totally cooled!
I think my DIY Mini Witch Hat Headband turned out so cute! It was so fun to make that I kinda want to make more. I'm not sure how many I need though ... ha ha.

Printable Witch Hat Pattern
Click anywhere on the image below (except the "Pin Me! button) to download the free printable pattern template.
For best results, print the PDF at full size on cardstock.

More Halloween Crafts
Looking for Halloween ideas? Try one of these fun projects next:
- DIY Mummy Halloween Card
- Halloween Craft Party
- Printable Halloween Banner ... boo!
- Ghost Cake Pops
- 20 DIY Halloween Craft Ideas
- 25 Easy Halloween Ideas
- Edgar All Poe "The Raven" Printables
Need more DIY costumes? Check out all my Halloween Costume Ideas!
Are you celebrating Dia de los Muertos, too? Then you'll love this Sugar Skull Banner and this Free Sugar Skull Printable, too!


Are you planning on dressing up for Halloween?
P.S. Check out all of my Halloween Crafts and Recipes here!
I always dress for Halloween. I have a really great velvet and satin witch dress, a hat that I got at a performance of "Wicked!" that I have improved with veiling. I have a broomstick that has a bendy handle that I've improved with real twigs and branches instead of fake ones, I have a really large "whirly" cape in black velvet that I've lined with purple satin and I've learned how to do the makeup that Elphaba used in "Wicked!". I've done the witch at home but also traveled with it to Northern Florida and to the Terra Haute… Read more »
That sounds so fun, Marsha! Wicked is one of my favorite plays! 🙂
This is so cute! I need to make one to wear to school on Halloween. The kids would love it.