Make these cute DIY Nesting Boxes with simple supplies!

This post contains affiliate links.
I have a short attention span. As much as I love a good DIY project, I have a bad habit of starting something and never finishing it, or picking up supplies for a project and never even beginning it. Do you ever do that?
Quite a while ago, I found a set of nesting boxes that I thought would be perfect for holding odds and ends. Well, those boxes sat around my living room/craft room for a few months, but I couldn't decide how to paint them. Then they moved into my hall closet, never to be seen again ... until now!
I finally found a little inspiration in the form of my favorite gold paint, and I turned those plain boxes into a set of DIY Stripes and Dots Nesting Boxes!
I'm not sure why I waited so long, because this was such a fun and easy project. Honestly, the hardest part was waiting for the paint to dry. I'm that impatient.
Would you like to make your own set of nesting boxes? Let's get started!

DIY Painting Nesting Boxes
Here's what you'll need:
- set of paper mache boxes
- paint palette
- painter's tape
- white, gold, and turquoise acrylic paint
- medium flat tip paint brush with stiff bristles
- small angled tip paint brush with stiff bristles
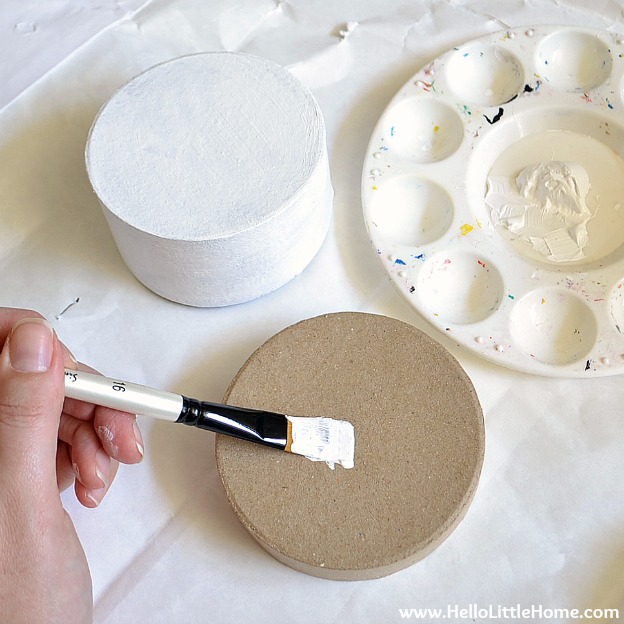
Pour some white paint into your paint palette. Using the flat tip brush, paint the outside of the boxes and lids white. You'll probably need a couple coats.
Let the paint dry completely before proceeding with next step.
Using the turquoise paint and the flat tip brush, paint the insides of the boxes and lids, as well as the box rim.
Let dry.

You'll need the painter's tape for the striped boxes. Luckily, the height of my largest box was just about the width of three rows of painter's tape. So I decided to make my life easy and paint three stripes.
Since I wanted to keep the middle stripe white, I needed to tape off the middle of the box. I wanted to avoid lots of measurements, so I first applied a row of tape along the top of the box , then I applied another row just below that one (see upper left picture below). Apply the tape as straight as possible.
Remove the top row of tape, so only the middle row of tape remains (see upper right picture below). Use your fingers to press the tape firmly to the box (this will help avoid paint seeping under the tape.
Use the flat tip brush to paint the white areas of the box (see lower left picture below). You will need a couple coats.
Remove painter's tape as soon as the gold paint is opaque (see lower right picture below). There no need to let the paint dry first. After you've removed the tape, let the box dry.
Don't worry if you made some mistakes. We'll fix those later!

I wasn't too concerned with my stripes being perfect. So for the top of the striped box, I simply eyeballed the stripes and lightly marked the lines with a soft pencil. Press very lightly, so you can erase any marks later.
If you want precise lines, then use a protractor.
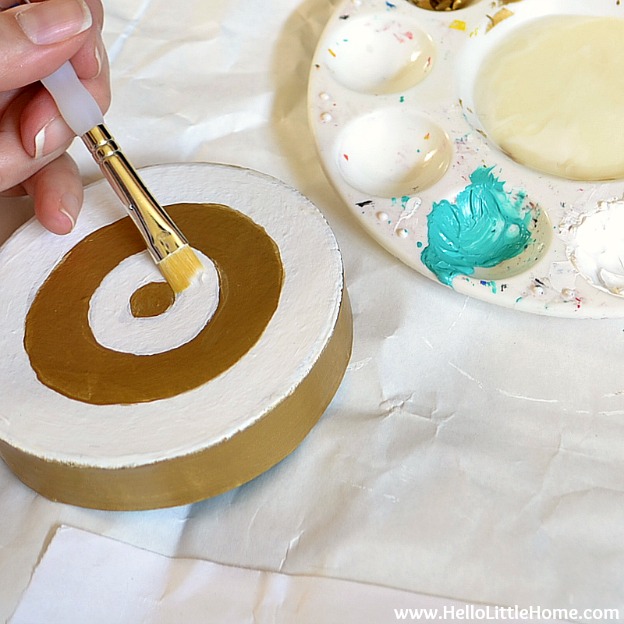
Working slowly and using the flat tip brush, apply the gold paint to the areas you have just marked.
Again, you will need a couple coats of paint.
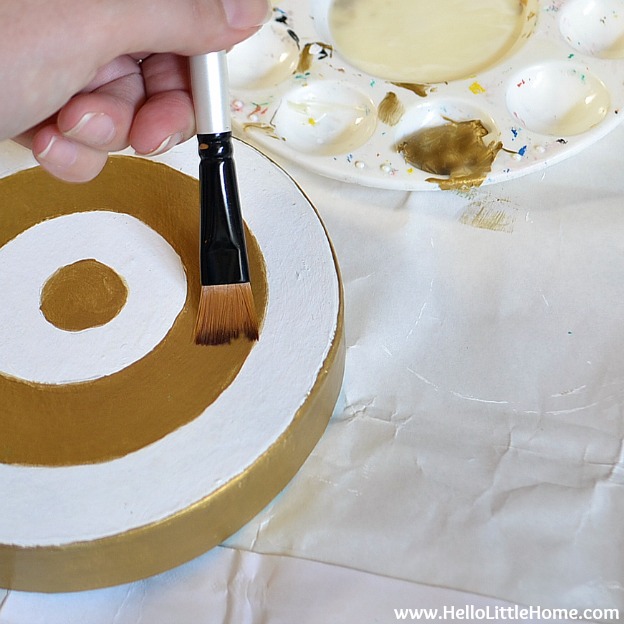
Let the boxes sit until the paint is dry, and then use the angled brush to touch up any mistakes.
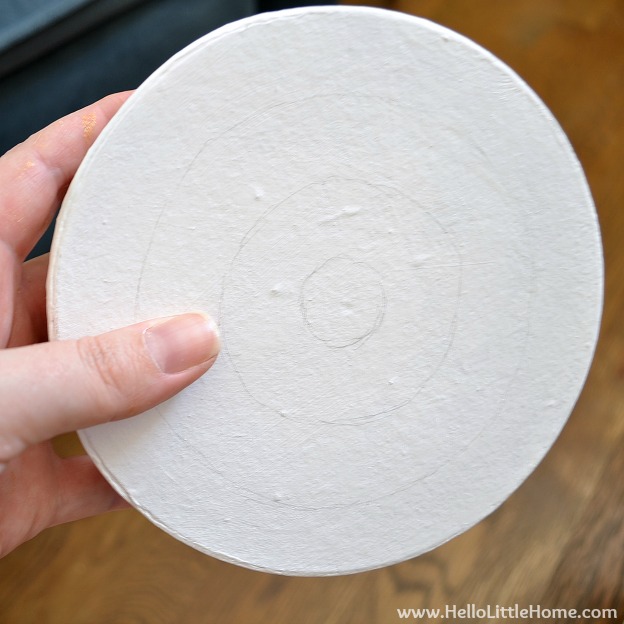
For the smaller striped box and the polka dot box, I eyeballed all of the lines and shapes.
If you'd like to be more precise, measure the layout of the stripes with a ruler.
For the polka dots, you could use a stencil, round foam pouncer, or even a pencil eraser for smaller dots.

Once the boxes are completely dry, add a coat of protective sealer.
I like Modge Podge Paper Matte Finish (it also comes in a glossy finish, if you prefer).

I plan to use these boxes in my bathroom.
Remember that makeover I mentioned a few months ago? Add that to my list of unfinished projects ... ha!
The boxes will store hair ties, products samples (why do I have so many of those?), and more. My husband will be so happy to get a little storage space back!

Tips for Painting Nesting Boxes
- Apply the paint in thin coats, otherwise the paper on your box may bubble.
- To ensure opacity, you may need more than one coat. Make sure to let the paint dry between coats.
- Avoid too many visible brush strokes by always painting in the same and avoiding going over patches that have started to dry.
- Don't worry if you make little mistakes are you go along. It's easy to touch them up later.


Do you ever start projects and then never get around to finishing them? Please tell me I'm not the only one!
So charming! Pinned. Lou Lou Girls
Thank you so much, Kimberly!
Love the pop of color on the inside! I would just like to invite you to stop over to Weekend Craft and link up on our Creative Spark Link Party. Hope to see you over there. http://bit.ly/1tYPo3T
I love that part, too, Michelle! Thanks for the invite:)
These are very cute! Love the functionality of them 🙂
Thanks, Cindy! They are perfect for holding hair accessories:)
i love boxes and yours look soooo cute!!
Barbs
Aww ... thank you so much!
I don't know what it is about nesting boxes and what not - maybe I just like sets of things. I love these, the gold and white with the turquoise!
These look gorgeous! Love the colors you chose.
Thanks, Sarah! The pop of blue is one of my favorite parts:)