I love seeing how other people have decorated their homes for Christmas, so I thought it would be fun to do a holiday apartment tour today!

My apartment is pretty tiny, so I didn't go crazy, but every decoration makes a big impact.
Let's start at the front door!

I was inspired by Made In A Day to make a square wreath. It was definitely one of those super simple, yet very satisfying DIYs!
To make it, I simply bent the wire frame from a round wreath into a square and moved the branches around to perfect the shape. Then, I hot glued a bunch of silver and gold sparkly stars to the wreath and tied on a gold bow. Super easy!
The entry way is next.
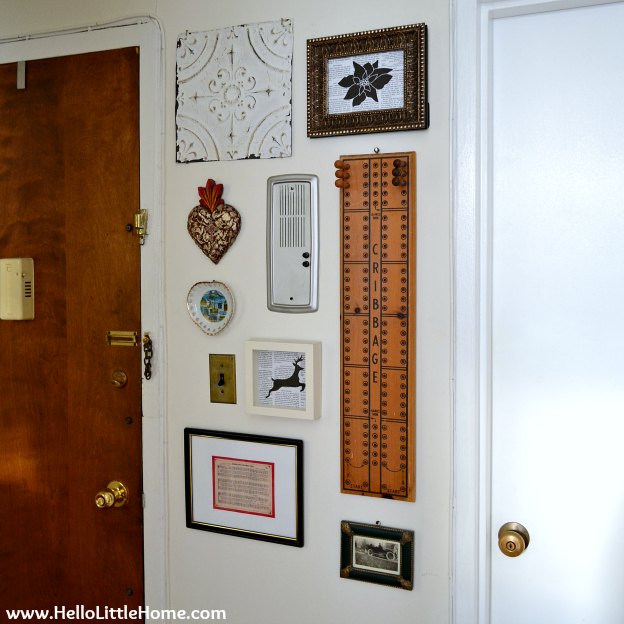
I updated my gallery wall with some DIY holiday artwork.


The artwork was simple to create from vintage clip art that I found online. It's a fun holiday update to the gallery wall!
I also added my Noel sign to the closet doors in the entry.

Next, let's head into the kitchen, where I updated my DIY chalkboard with a Christmas message.

My kitchen is super small (I'll share pictures soon), so the chalkboard is the only holiday decoration in there!
I did the most decorating in the living room.

I started by topping a small side table with a framed Deck the Halls print from I Heart Hands-On. Isn't it cute?
I also added my birds and one of my favorite Christmas books, Scared of Santa: Scenes of Terror in Toyland. Have you seen this book? It is hilarious and would make a great stocking stuffer.
Here's one of my favorite pages.

I also added a "Ho Ho Ho" sign on the window sill.

I've shared a few sneak peeks of my Christmas village here and on Facebook already, but here is the finished product.

I'm so happy with how it turned out! The houses were somewhat time-consuming to make, but I plan to add more over time.
Here are a few more pictures of the village.

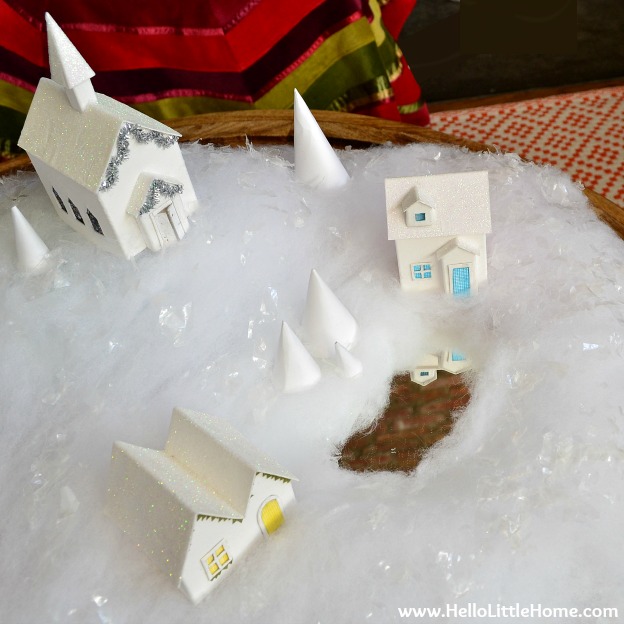

I made my own patterns for the houses, but I got a lot of inspiration from Martha's Winter Village. To build the village, I put a layer of Eco Snow on my coffee table (over books for varying heights), arranged the houses, added a small mirror for a pond, and then sprinkled everything with Buffalo Snow. It's really sparkly and soft looking. I love it!
Finally, there is the tree.
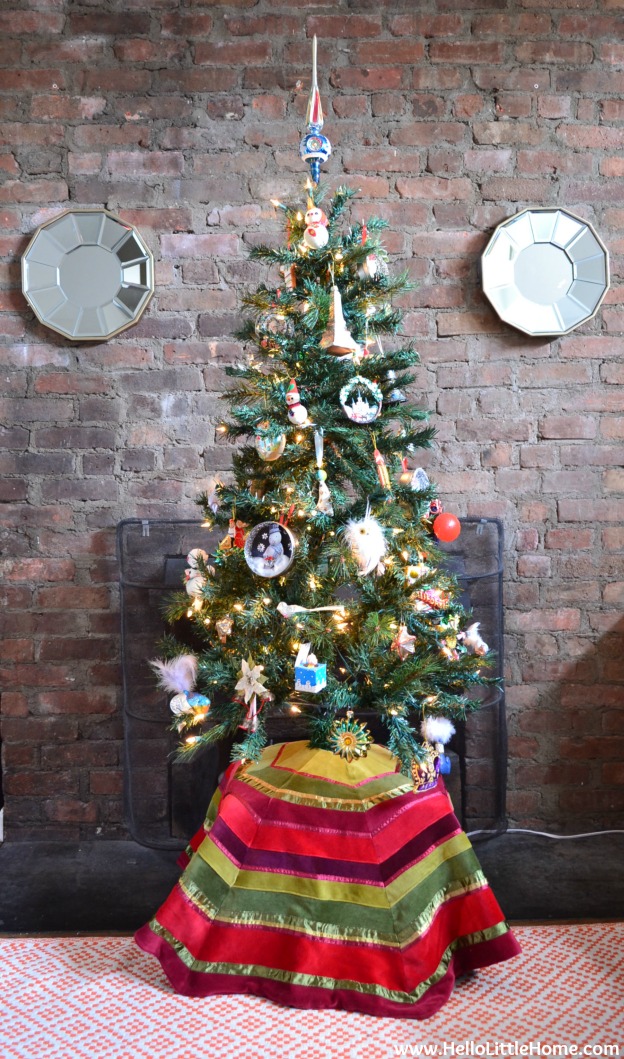
I set my tree on top of a box for a little more height. There really isn't a theme; I just used a mix of my favorite ornaments and added a vintage glass tree topper.
When it comes to decorating a tree, my philosophy is to squeeze on as many ornaments as possible! It really looks festive and helps to fill out a sparse tree.
Here are a few of my favorite ornaments from my childhood. That poodle cracks me up!

I collect bird ornaments. They are just so quirky! This is just the beginning of my collection.

My husband and I also collect ornaments from our travels and places we've lived.

Here are a few more of my favorites.

I hide that pickle ornament on the tree every year, and then my husband has to find it. It's a lot more challenging with a real tree. He spotted it right away this year!
I took some creative shots of the tree with bokeh, too.


I'm still hoping to add a few more decorations (our stockings seem to have disappeared in our move), but this may be it for this year. I hope you enjoyed my tour!
How do you like to decorate for the holidays?
So pretty! I love your gallery wall with the framed sheet music! Thanks for sharing!
Thanks, Jenny! The gallery wall was a lot of fun and so easy to change up:)
If you hadn't told me that you live in a small apartment, I would never have known it because you have so many beautiful, thoughtful touches throughout! Thanks for the wonderful tour and merry Christmas!
Thank you so much, Kris! I've tried to keep my apartment as uncluttered as possible - that definitely helps! Hope you had a great Christmas:)
It looks cute and cozy. The village is my favorite part I think.
Thanks, Anne! The village is my favorite part, too.
Looks great, your mother-in-law and I were checking it out 🙂 Very pretty! She is always bragging you up, well deserved 🙂
Thank you so much, Rebecca! Pat is the sweetest:)