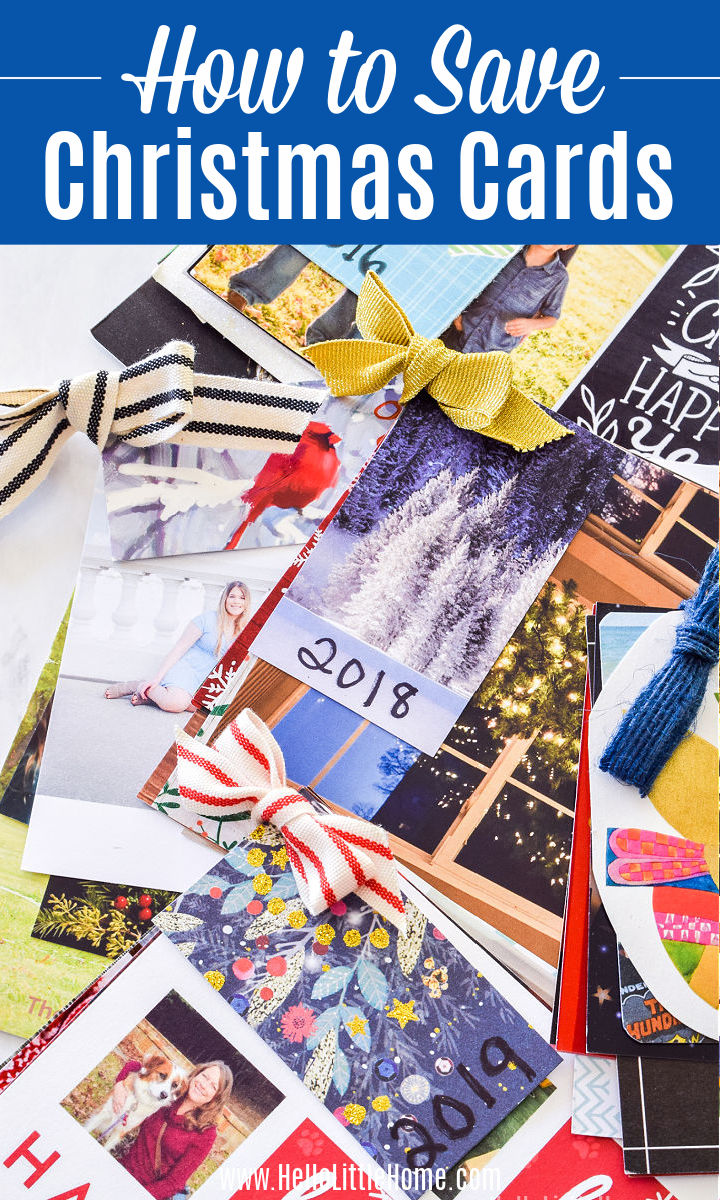
Wondering how to save Christmas cards? These cute flip books are the BEST way to save your treasured holiday photo cards so you can enjoy them year after year. Best of all, you only need a few basic supplies and about ten minutes to make them!
This post contains affiliate links. As an Amazon Associate I earn from qualifying purchases.
I don't know about you, but I look forward to receiving and displaying Christmas cards every year. Seeing the smiling faces of friends and family just makes the holidays more cheery! And of course, once the holidays are over, I have to keep my faves, too.
Over the years, I've found an easy way to save Christmas cards, and it's so simple. I've actually been meaning to share this holiday project with you for a few years now, and I'm so happy to finally be getting around to it!
You are going to love this creative idea, which is basically a DIY photo book. Don't worry! You don't need any special skills to make these flip books, and they're the perfect way to save and organize old Christmas cards so you can enjoy them year after year.
Saving Christmas cards this way is super easy, and this fun project will only take you a few minutes to make! Keep reading for the step-by-step tutorial and lots of creative tips.
Supplies
This Christmas card flip book is so easy to make! Here's what you'll need:
- Christmas Cards
- Something for the Tag (See tips below.)
- Scissors
- Pen or Marker - Something permanent ... a Sharpie or a Gel Pen works great for this.
- Hole Punch
- Ribbon - This is a great way to use up leftover ribbon or ribbon you saved from a present!
You can use photo cards only for this project, or all of the Christmas cards you received ... it's up to you! I usually only save photo cards and cards with handwritten messages.
In addition to the cards, you'll also need something for the tag that you attach to the cards. A holiday card with a pretty image, an extra gift tag, or a decorative piece of paper will work.

How to Save Christmas Cards
This easy project only takes a few minutes, so let's get started.
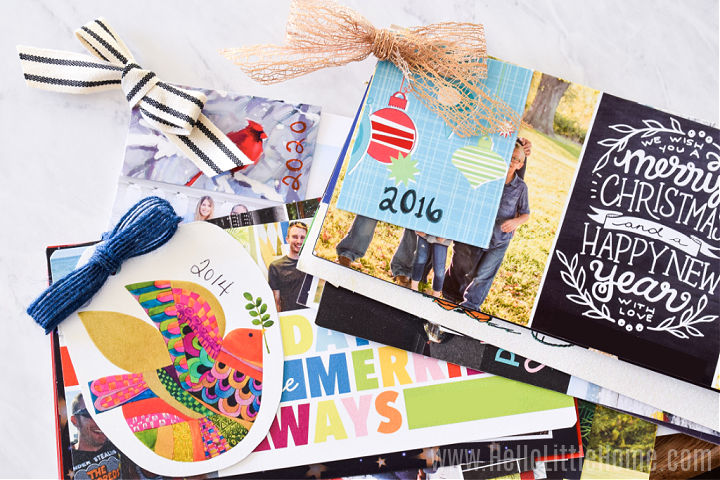
Start by cutting a rectangular tag out of a card with a pretty image that you'd like to keep. Mine was about two by three inches. Size isn't that important though, and it will vary based on the image you choose.
Depending on the image, you could also do a square or even a circle tag ... check out the photos of my finished books in this post for inspiration.
Then, write the year along the side or bottom of the tag. Sharpies and gel pens both work well for this because they're able to write on shiny paper.
Tip: Don't have a card with a cute image? You can use a scrap of decorative paper or an extra gift tag instead. Just make sure to choose something with fairly thick paper, otherwise it might tear.

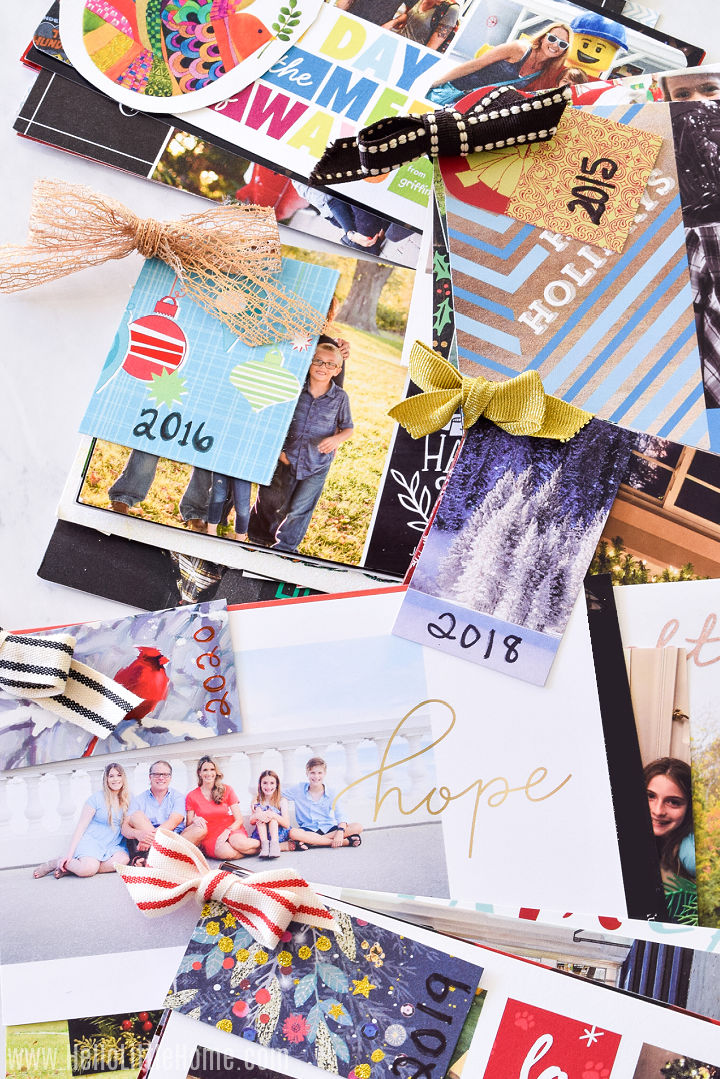
Next, figure out what order you'd like the cards to go in. You can put the smallest cards on top, group them by friends / family, organize with favorite cards first, or mix them up any way you'd like.
Using your hole punch, make a hole in the corner of each card, as well as in the tag.
The holes should be at least ¼-inch from the edge of the cards. And you want the hole to be in basically the same spot on every card ... no need to measure though, just eyeball it.

Cut a long piece of ribbon next. You will need more ribbon than you think, so be generous, otherwise it will be hard to tie the bow. I'd recommend using at least 10-inches ... more if you have a thick stack of cards (or stiff ribbon).
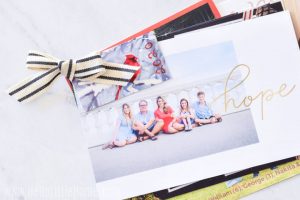
Pull one end of the ribbon through all the holes in the cards and the tag. Then, tie a bow to hold the cards together. Trim the ribbon edges, and you are done.
Tip: Need help tying a bow? Check out this easy tutorial (with video) to learn how to tie a perfect bow!


And now you know how to save Christmas cards! Wasn't that easy?
You are going to love pulling out these flip books every Christmas. It's so fun to see how people and families change year to year.
And once the holidays are over, just store your Christmas card books with your holiday decorations. That way, you'll be able to enjoy them again next year!
Displaying the Cards
Of course, once you start keeping Christmas cards for a few years, you'll want to display them. Trying placing them on a side table, in a decorative basket or bowl, or even under your tree.
I used to have a gold wicker basket that was shaped like a star, and it was perfect for showing off my cards. Unfortunately, I lost it at some point, but something simple like these gold wire baskets would also work great.
More Ideas for Using Old Christmas Cards
Are you looking for more ideas for recycling Christmas cards? Try one of these ideas next:
- Coasters - Cut out the card's image, then glue it to a piece of wood or thick cardboard. Don't forget to seal your coasters with a water-resistant coating, like this Mod Podge Sealer.
- Gift Tags - Save pretty cards to use on next year's gifts. Cut out the tags by hand or use a large circle punch or gift tag punch.
- Frame - Pop your favorite cards into a frame! You'll cherish them for years to come.
- Holiday Cards - Create upcycled holiday cards by either cutting off the decorative fronts to use as postcards (provided there's no writing on the back), or by cutting out different elements to create a totally new card.
- Ornament - Trim the edges and add ribbon to turn your cards into simple ornaments. Or use the decorative parts to create these adorable DIY Vintage Ornaments.
- Banner - Turn your cards into a festive holiday banner! This Punch Board Tool makes it easy.
- Wreath - Reimagine your favorite images as a beautiful wreath that you can use year after year! There are lots of different ways to do this ... check out this Christmas Card Wreath and this Greeting Card Wreath for inspiration.
- Mini Trees - Check out this easy tutorial for turning old cards into mini Christmas trees ... so cute.
- Scrapbooking - Save the whole card or cut out your favorite bits and pieces to repurpose in your scrapbook.
Looking for more inspiration? Check out this fun article for over 50 recycled Christmas card crafts!

Related Ideas
Looking for more holiday inspiration? Check out these festive crafty ideas next:
- DIY Christmas Card Holder
- Snowflake Coasters
- DIY Vintage Christmas Ornaments
- Origami Lucky Star Garland
- Christmas Shadow Box
- DIY Cardboard Gingerbread Ornaments
You can find all of my Christmas crafts, recipes, and ideas here!


How to Save Christmas Cards
Equipment
- Marker
Materials
- Christmas Cards
- Ribbon
Instructions
- Cut a rectangular tag from an old card using scissors.
- Write year on tag with marker.

- Using the hole punch, make a hole in the corner of the tag and all the cards.
- Thread ribbon through cards and tag, then tie in a bow to secure cards together.


Video
Notes
