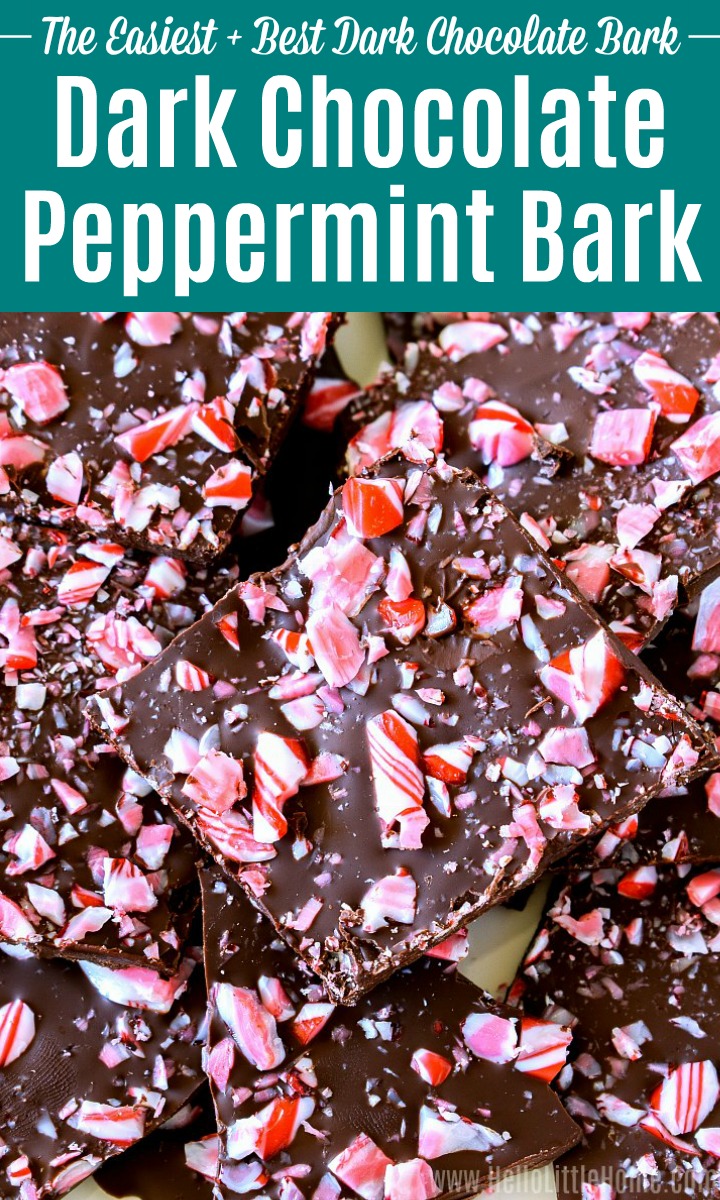
Indulge in this scrumptious Dark Chocolate Peppermint Bark ... you only need two ingredients and just a few minutes to make this delicious Christmas treat!

This post contains affiliate links. As an Amazon Associate I earn from qualifying purchases.
It's official ... I'm running out of time before Christmas.
This holiday season flew right by, and I barely had time to keep up. I couldn't resist sharing one more holiday recipe though, and it's perfect for any last minute procrastinators. Please tell me I'm not the only one!
You are going to love this Dark Chocolate Peppermint Bark. It's pretty much the easiest bark recipe ever ... only two ingredients and few minutes of your time to make.
Don't you love those kind of recipes, especially during this craziest (err ... most festive) time of year? Then, keep ready for all the easy details!

About the Recipe
This yummy Chocolate Bark recipe was inspired by my easy White Chocolate Peppermint Bark. That recipe is always super popular at this time of year, but I know not everyone loves white chocolate.
If you're a dark chocolate lover, then this easy recipe is for you. It's so yummy, not too sweet, and guaranteed to give you all those festive holiday feels!
My favorite thing about this recipe? At a time of year when my diet consists mostly of cookies, this Peppermint Dark Chocolate Bark is actually a fairly healthy treat!
The recipes uses minimal ingredients, and it's gluten-free (of course, double check the chocolate and candy cane labels for people with gluten allergies). And as long as you use dairy-free chocolate, it's naturally vegan.
But best of all, it's totally delicious! And did I mention it takes minutes to make?

Ingredients
Let's talk about the ingredients. You'll only need two:
Since there's only two ingredients, you really want to use the good stuff!
I used three Black & Green's candy bars for this recipe. Any variety of dark chocolate works though, so choose your favorite. I prefer to use chocolate with 70 to 80% cacao (it should say on the label), but if you like the realllly dark stuff go for it.
You will also need two baking sheets, as well as aluminum foil or parchment paper to line them.
Would you like extra peppermint flavor? I made this bark without extract, but feel free to stir in a teaspoon of Peppermint Extract after you melt the chocolate if you'd prefer.

How to Make Dark Chocolate Peppermint Bark
Okay, let's get started. Once you begin, the process moves fast. So start by lining a baking sheet with parchment paper or aluminum foil.
Next, place the candy canes in a large zip top plastic bag. Then, use a rolling pin to crush the candy ... you're aiming for small bite size pieces.
Melting the chocolate is the one semi-tricky thing about this recipe. The main thing to keep in mind is that you want to avoid overheating the chocolate. If that happens, the chocolate will seize up, and you'll have to start over.
For best results, don't try to heat the chocolate in the microwave until everything is completely, 100% melted!
Instead, there should be chunks left in the chocolate after you microwave it. As you still the chocolate, these small chunks will melt and temper the chocolate, and it will become smooth and shiny.

Melting the Chocolate
I prefer to melt chocolate in the microwave since it's so quick and easy. Tip: don't have a microwave? Use a double-boiler to melt your chocolate instead.
Start by breaking (or chopping) your chocolate into small pieces, then place it in a small microwave-safe bowl. Microwave the chocolate for 30 seconds, then stir it really well. Then, continue heating the chocolate in 15 second intervals, stirring really well in between intervals.
My chocolate only took one 30-second and two 15-second intervals ... it doesn't take long!
Spreading the Chocolate
Once your chocolate is melted, pour it onto a baking sheet lined with parchment paper or aluminum foil. Then, spread it around with a spatula. It should be about ¼-inch thick when you're done.
You're not aiming for perfection here! Don't worry if the chocolate isn't perfectly smooth ... no one will notice any ridges or other imperfections once the chocolate is covered with candy.

Finishing the Bark
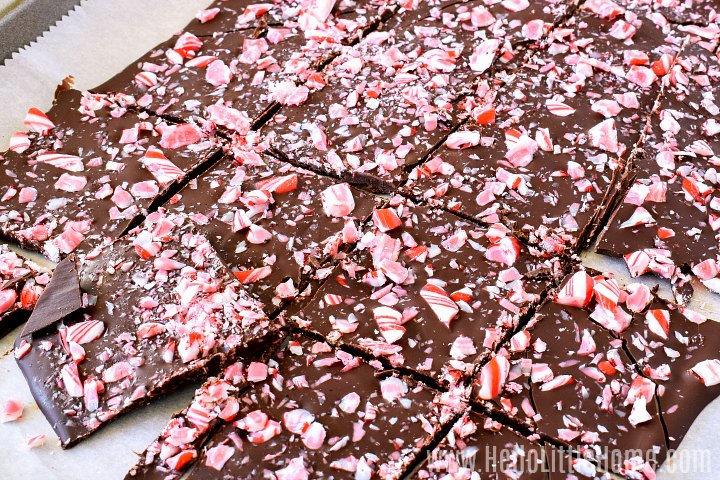
While the chocolate is still warm, sprinkle the crushed candy canes evenly over the top.
Then, pop the baking sheet into your freezer or refrigerator to set up. It should take about 10 to 15 minutes.
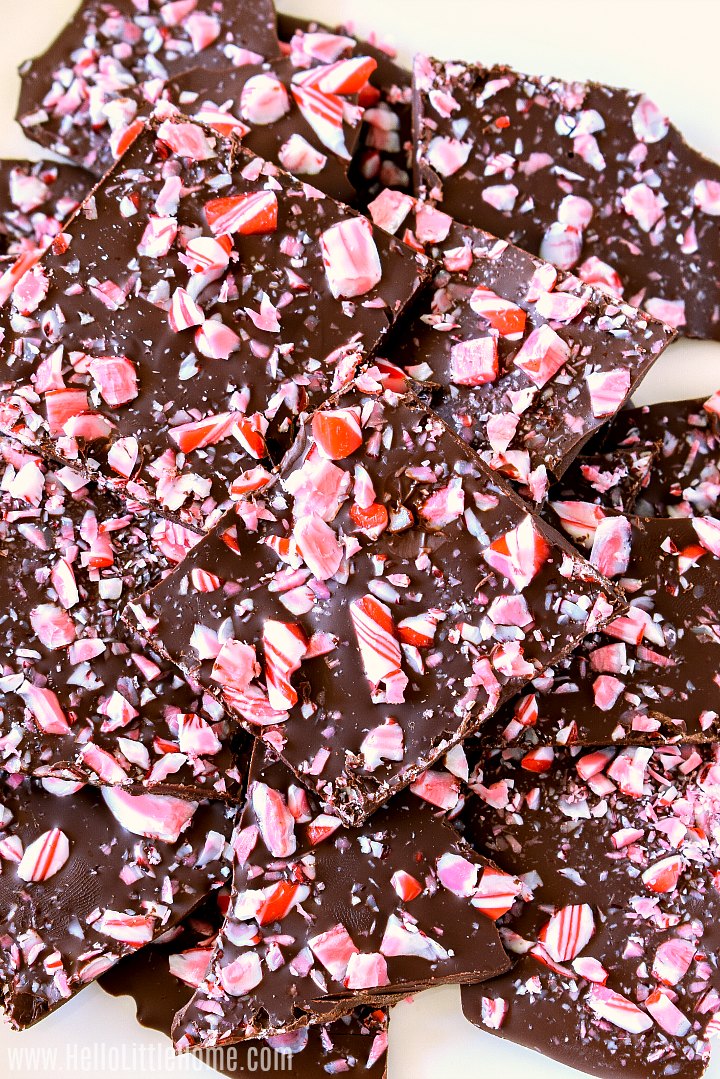
Once the chocolate is set, chop or break it into pieces. And then it's time to eat ... wasn't that fast?
Tip: when using your hands to break up the bark, work quickly to avoid getting fingerprints on the chocolate. You can also grasp the chocolate with a small piece foil or parchment instead of your bare hands.
Storing the Bark
Store homemade Dark Chocolate Bark in an airtight container.
Is your home is on the cool side? Then, it's fine to store this bark at room temperature. Otherwise, keep it in the freezer or refrigerator.
If you'd prefer to bring the bark to room temperature before eating it, keep it in the storage container while it warms up. That way any condensation will form on the container, not the chocolate.
Or you can enjoy it straight from the freezer, like I do!
How Long Does Chocolate Bark Keep?
If you store this Dark Chocolate Peppermint Bark in a cool place in an airtight container, then it should last a few weeks. If you can avoid eating it first, that is!
Related Recipes
If you loved this easy recipe, then try these delicious treats next!
- Chocolate Bark ... a basic recipe that can be made with any chocolate, plus TONS of topping ideas!
- White Chocolate Peppermint Bark
- Peppermint Thumbprint Cookies
- Chocolate Peppermint Crinkle Cookies
- Strawberry Chocolate Bark
- Fruit and Nut Chocolates
- Chocolate Covered Strawberries
- Easy Chocolate Fondue
Looking for more Christmas recipes? Then try my Honey Cookies, Poppy Seed Kiss Cookies, Chewy Ginger Cookies, or Pecan Finger Cookies, too!
Packaging the Bark
Want to give this delicious bark as a gift? Pack it up in a small white box decorated with twine, a candy cane, and these FREE Candy Cane Gift Tags!


Dark Chocolate Peppermint Bark
Ingredients
- 3 (3.5-ounce)
dark chocolate candy bars - 6
candy canes, crushed
Equipment
Instructions
- Line a baking sheet with parchment paper or aluminum foil.
- Place candy canes in a large zip top plastic bag. Use a rolling pin to crush into small pieces. Set aside.
- Break chocolate into small pieces, then place in a small bowl.
- Microwave chocolate for 30 seconds, then stir chocolate well. Continue microwaving in 15 second increments, stirring very well in between, until chocolate is melted.
- Spread melted chocolate over parchment paper, about ¼-inch thick, using a spatula.
- Sprinkle chocolate with candy canes.
- Freeze (or refrigerate) peppermint bark until set (about 10 minutes). Then cut into squares with a chef's knife or break into pieces with hands.
- Eat bark immediately or store in a cool place. Enjoy!
Video
Notes
Nutrition